Last weekend was The Girlfriend's (and Raisin-cat's, funny enough) Birthday, and she made the mistake of telling me that she didn't want a cake or anything.
ha!
Funny lady, thinking she knows what she wants ;)
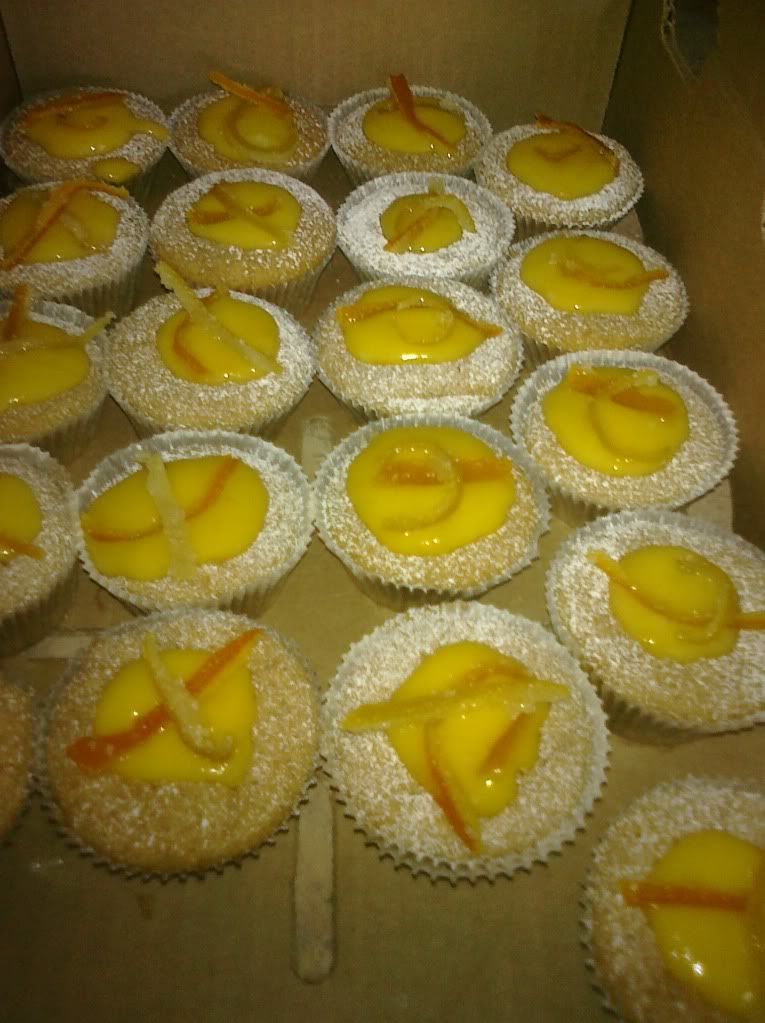
I of course took that as a challenge, and made up a batch of these:

They are every bit as heavenly as they look. the recipe ended up making 32 cupcakes, and they ALL went faster than you can say "save one for the chef!" Even the Girlfriend was thrilled by them, and you lucky saps get the recipe :
you're welcome.
Lemon Cupcakes with Mango-Lime Curd and Candied Orange Peels
First off, you want to make the peels. They have to dry out overnight, so lets start those.

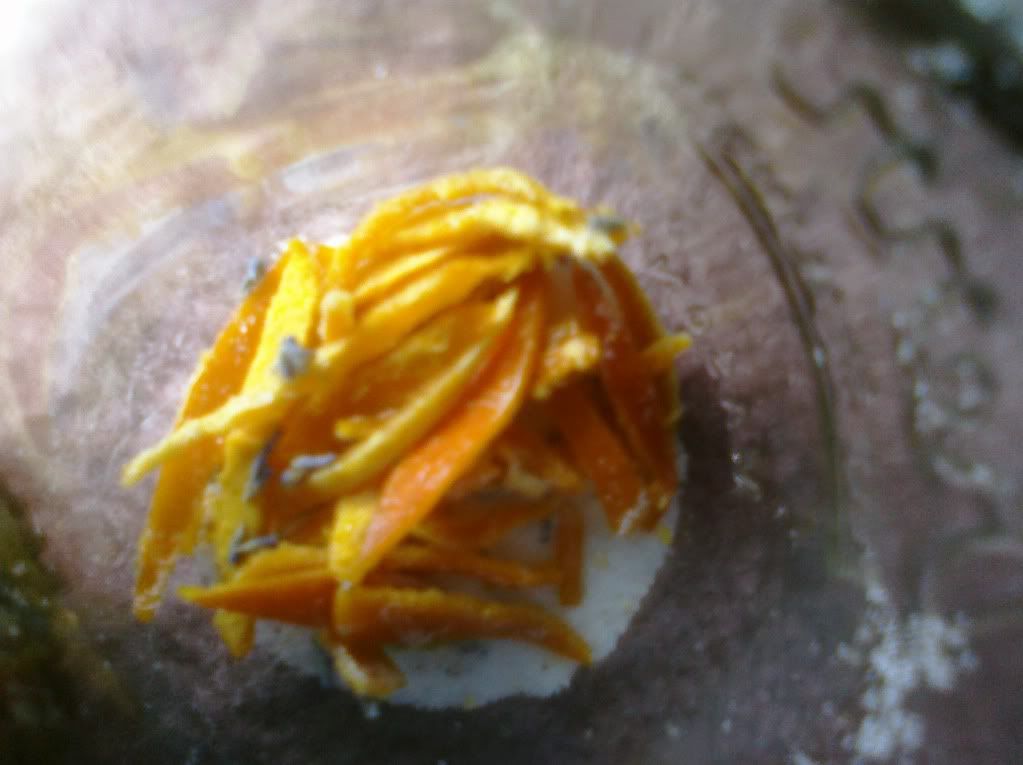
(please excuse the blurry picture..we don't have many left, and the cat was trying to eat me while I took it)
You need:
-Orange rind, Lemon rind, grapefruit rind, whatever citrus you want really
-Granulated sugar
-Water
Before you peel your fruit, go ahead and give the outside a good scrub. This will clean off any chemicals that may have found their way onto them, and also get off that waxy stuff they put on it to make it shiny. Now, try to peel the fruit in quarters if you can. you want the chunks to be big-ish so that they are easier to scrape the pith out of later.
Once you are done,go ahead and dump all your peels in a pot and cover them in cold water. Bring that to a boil, and let it continue to boil for 10 minutes. Then, dump out the water and do it again. You are going to cover the peels in water and bring it to a boil a total of 3 times. After the third time, rinse them in cold water so that you don't burn yourself, and use a knife or spoon to scrape out the pith. when i did this, i tried actually "scraping" the pith out. I found that the easiest and fastest way is to get a sharp knife and cut it out (did anyone else hear that in the voice of Uncle Joey from "Full House?" No? Just me? ok then...ahem...)
Slice up your peels into strips about 1/4 - 1/8 inch thick, and measure them out. For every cup of sliced peel you have, you want to mix together 1 cup water with 1 cup sugar until it dissolves. (using slightly warm water helps speed this along drastically) Toss in your peels, and let them soak for a couple of hours. once that is done, just toss them around in some sugar (i used lavender sugar...yum!), and let them dry on a tray overnight.
Tada!
Now, try not to eat them all before your cupcakes are done. I know it is hard, but trust me...you'll be glad you waited! (also, don't get impatient and stick them in your dehydrator to speed up the drying process...it makes them weird)
Ok...now we are going to make our:
Mango-Lime Curd!
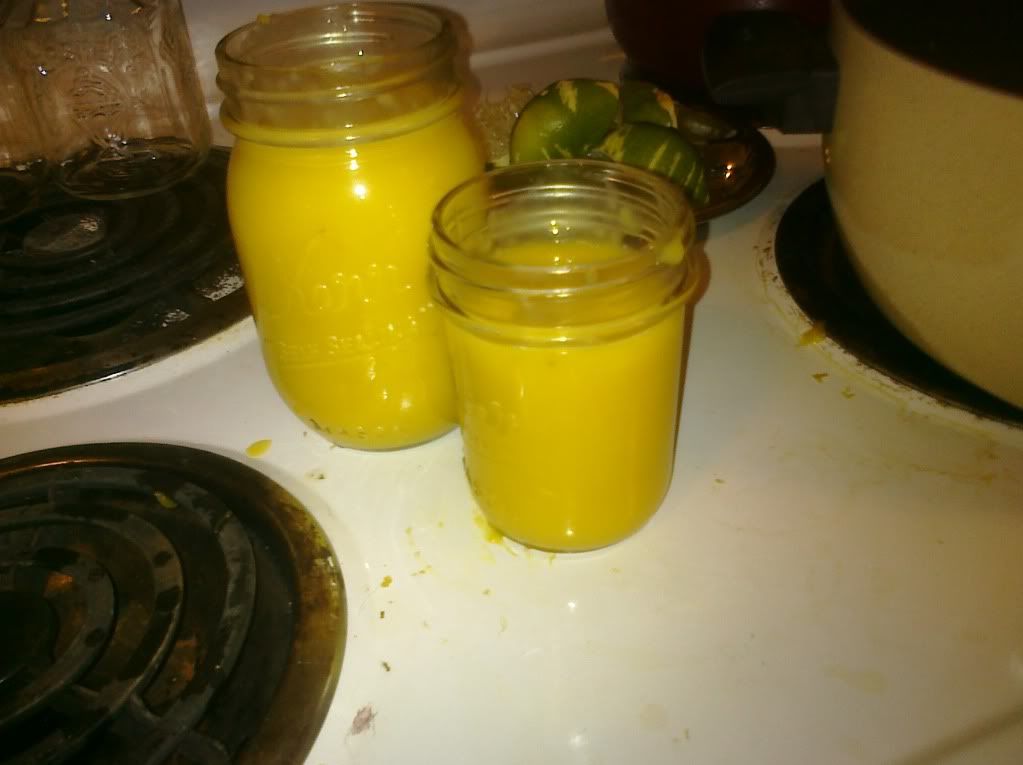
Please excuse the dirty stove...

Makes Makes about 1 1/2 cups
Ingredients
- 2 large ripe mangoes, peeled, cheeks removed and flesh roughly chopped (or 8 small mangoes if that is what you have access to...)
- 160g butter, cubed or 2/3 cup ghee
- 1 teaspoon lime zest
- 1/3 cup (80ml) fresh strained lime juice (around 2-3 limes)
- 1 cup (225g) sugar
- 4 eggs, beaten

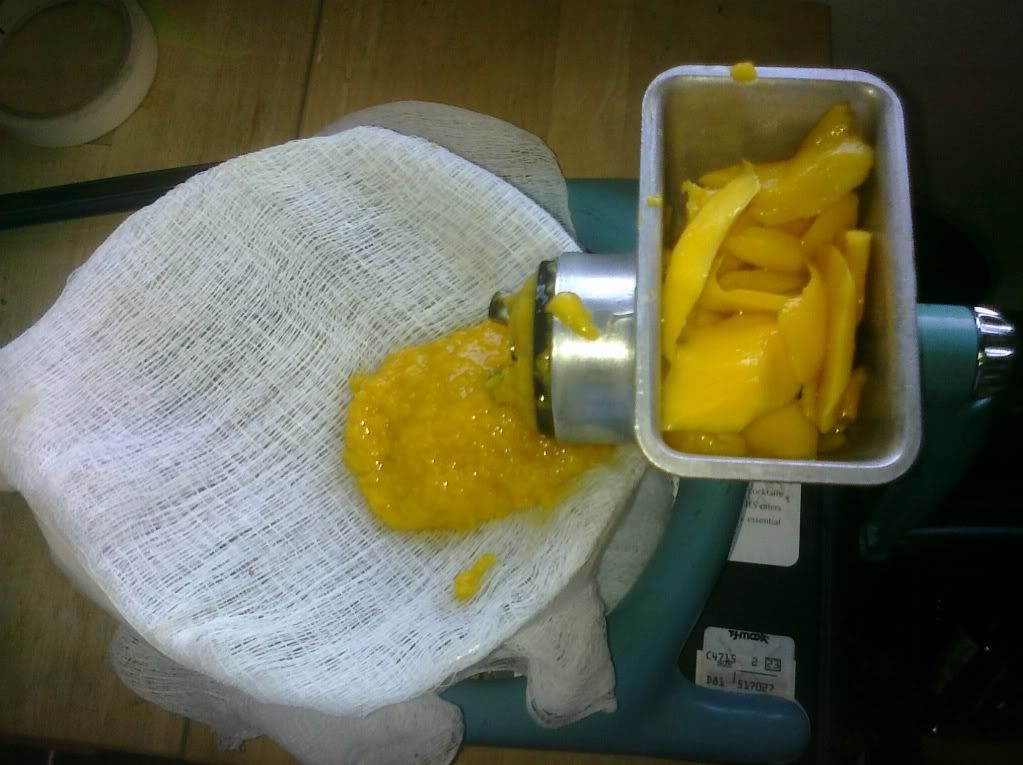
Now, you want to strain the pulpy bits out, and though a wire mesh strainer thing would be ideal, if you happen to have an abundance of cheesecloth (Honks dollar store, 88cents tuesdays. check the craft aisle. you're welcome.), that will work as well...just be sure to change out the cloth when it starts getting worn out, or it will tear, and ALL your pulp you sifted will dump into your nice smooth pile of mango puree. Push the puree through your straining apparatus of choice with the back of a spoon, or one of those nifty silicone spatulas (provided yours aren't all dirty...like mine were) until you have 1 1/4 cups of puree. Set this aside for later.
Melt your butter or ghee (yum!) in a medium heavy-based pan over medium heat. I have no idea why you need to use a "heavy based pan." I'm sure there is a perfectly good reason for this, but being the rebel I am, I used a regular cheap lightweight pan and mine turned out just fine...anyway, as soon as it's melted, but not overly hot, whisk in the remaining ingredients including mango puree.
Turn the temperature down to medium-low and cook gently, stirring constantly with a wooden spoon for 6-10 minutes until mixture thickens and coats the back of the spoon. If you have to ask your roommate who is watching you do this if the mixture has thickened yet, it hasn't. You'll know when it does.
At no stage do you ever want the mixture to near boiling point, or you will end up scrambling the eggs. While I have heard that mango and scrambled eggs are delicious together, that is not the point of this recipe, so don't do it. When the mixture is awesome and thick, and curdy looking, remove it from the heat and pass through your straining apparatus again to remove lime zest and any random bits of egg white that may have decided to scramble. Transfer the curd to warm sterilized jars and seal while hot. Store in the fridge unopened for up to 2 months and use within 1 week once opened. Or, be cool like me and fill cupcakes with most of the curd, and freeze the rest in a dollar store popsicle mold. you won't regret it :)
Now the moment you have been waiting for! combining it all to make:
Lemon Cupcakes with Mango-Lime Curd and Candied Orange Peels!
- 2 2/3 cups wheat flour
- 1 1/2 tsp baking powder
- 1/2 tsp salt
- 3/4 cup ghee (or room temp butter. but ghee has such a lovely nutty flavor, it wouldn't be the same.)
- 1 2/3 cup sugar
- 1 tsp lemon extract
- 2 large eggs
- 2 tsp vanilla extract
- 1 cup milk
- approx 1 1/2 cups mango-lime curd
Preheat oven to 350F. Line your muffin cups with paper liners. The recipe I went off of said it made 24, but I got 32 cupcakes. I suppose it all just depends on how full you fill the cups. also, my liners were a little too small for my muffin pan, so that probably made a difference.
In one bowl, whisk together flour, baking powder and salt.
In another bowl, cream together butter and sugar until light and fluffy. If you don't have a mixer, you can absolutely do this with a fork. Contrary to popular belief, you don't need fancy equipment to bake.
Blend in the eggs one at a time, followed by the lemon and vanilla extract (to be honest, next time I make this I will probably do 2 tsp of the lemon and 1 tsp of the vanilla...they weren't lemony enough for me)
Stir in 1/3 of the flour mixture, followed by half of the milk. Add another 1/3 of the flour and the remaining milk, then stir in the remaining flour, mixing only until no streaks of flour remain.
Divide batter evenly into prepared muffin cups, filling each about 3/4 full.
Divide batter evenly into prepared muffin cups, filling each about 3/4 full.
Bake for 16-19 minutes, until a toothpick inserted into the center comes out clean.
Cool completely on a wire rack.
To fill, use a small knife to carve a small cone out of each cupcake. You must then eat the piece you cut out...you know...for quality control!
Fill the depression with 2 tsp curd (bonus tip! put the curd in a zip-top baggie and cut the corner off to do this...way easier!), top with candied orange peels, and dust lightly with powdered sugar. (If you are planning on taking these somewhere, I recommend transferring them to their container before you fill them, if you want to avoid having to worry about messing up your beautiful cupcakes)

Serve shortly after filling. Trust me on this. If you wait too long, they will still taste good, but the texture goes all wonky. Unfilled cupcakes can be stored in an airtight container until ready to fill and serve.
if anyone makes a variation on these, I'd love to see it! I'm thinking of redoing the recipe with the lemonier cupcake modification I mentioned, and filling them with strawberry curd to make Strawberry lemonade cupcakes. Yum!
Enjoy your day!


