Home About the AuthorsContact UsContact Us

Wednesday, May 30, 2012

Yogurt!

Greetings!

I hope everyone is having a nice weekend. i have been a busy little housedyke... Today I am going to talk you through my favorite project from this weekend... Homemade Greek Yogurt!


it is so easy! Mine turned out perfectly, and I didn't even have a thermometer!

all you need is a gallon of organic milk, (can't be ultra-pasteurized) and a little container of plain yogurt. oh, and a crock pot and some cheesecloth :)

heat up the milk in your crockpot until JUST before the boiling point. then take the crock out and set it on the counter until it is lukewarm (around 108 degrees) then add the yogurt in and mix well. put the lid on the crock and wrap it in towels, placing it into the oven with the light on to keep it warm (around 100 degrees) if your light is broken like mine, then turn the oven on to warm for a couple minutes right before putting in the yogurt. let it sit overnight (8-12 hours) to thicken, then pour it into a collander lined with 4 layers of cheesecloth sitting in a bowl, and stick it in your fridge for 3-4 hrs to thicken. Then pull it out and twist up the corners of thee bag, squeezing out the whey. Tie a string just below wher the bag is twisted, and set it back in the collander. Put a coffee mug in the bowl and set the collander on top so it is held above the liquid, and put it in the fridge for another hour or two. When you pull it out, the yogurt should have decreased in volume by half. Just scrape it into a container with a spatula, and keep it in the fridge for up to a week. I like mixing mine with honey, and flax meal, and stawberries :)...yum!

tips: save a cup of your yogurt to use as starter for nex time. also, don't throw away your whey...it has tons of uses!

Thursday, May 24, 2012

Vegetarian, Gluten-Free Spoony Lasagnas!

My least favorite part of the day 
is trying to decide what to make for dinner.  There are those times where this hour becomes especially bothersome, where there seems to be a severe lack of ingredients in the pantry.  Rather than give up and demand that we go out for dinner, I decided to use the meager remains of a few random items in the fridge before they went bad (I hate wasting food.)

Here's what I had:

a handful of wilted baby spinach
about a cup of cottage cheese
a half-jar of spaghetti sauce
shredded cheese
parmesan
4 broken gluten-free lasagna noodles

What I did:

Cooked the noodles to al dente.
Layered the ingredients in the following order in a muffin pan (oiled)-

piece of noodle
spoonful of sauce
spoonful of cottage cheese
a few spinach leaves
sprinkle of cheeses
piece of noodle
spoonful of sauce
sprinkle of cheeses


Cooked 'em at 350 degrees for 20 minutes


Scooped 'em out and ate 'em!

While this may seem like a lot of work just to make what came out to be the equivalent of a 2-person lasagna, there were just not enough ingredients to use even an 8"x8" pan.

...and they're just plain adorable, no?


Saturday, May 12, 2012

Re-Purposed Wine Bags

I became a trend-setter this morning at the Bloomington Farmer's Market,
where I used my Kroger (grocery chain) sectioned wine carriers to pick up some tomato, squash, and pepper plants for my garden.


This way all the little baby planties get to be in their own special area and I didn't have to carry a box all the way back to the parking garage and hope not to trip and spill them into the street.


Yay!


Friday, May 11, 2012

Without Question, THE BEST Gluten-Free Treat of All Time

Also, the best peanut butter cookie EVER, so there.


Preheat oven to 350 degrees.

Mix 1 cup peanut butter
1/2 cup sweetener of choice (I tend to use raw sugar or brown sugar)
1 egg
chocolate chips (optional)


Place on baking sheet with cookie scoop if you have one.


Bake for 10 minutes or until edges begin to brown a teeny bit.

Eat.

Yields about a dozen or so, I don't know, they get eaten the moment they come out of the oven.

Saturday, May 5, 2012

Sink-o-duh-my-o

...or, Cinqo de Mayo.  It's been almost 2 whole month since St Patty's day so it's time for another Alcoholiday.  One with better food and beer that isn't green.  And strangely enough, no one pretends to be Mexican on Cinqo de Mayo. Go figure.
   In celebration of the Battle of Puebla the R&R committee at work decided to host a salsa contest.  Naturally, I had to participate.  I took in two submissions.  Submission number one was my basic blender salsa.  Put tomatoes, onion, anehiem chiles, cilantro, and parsley in the blender, and blend the shit out of it.  Pour into a bowl and season with salt, pepper, garlic powder, and hot sauce or lime juice if you like it.  Easy peasy rice and cheesy. It was alright, nothing to write home about, it's just not tomato season.
   My second submission however kicked MAJOR ass.  Mango. Pineapple. Habenero. Salsa.  It was a total shot in the dark but holy hell was it goooood.

Beautiful...it's so...beautiful
And easy!  All you need is

  • 4 Mangoes, chopped
  • 1 pineapple, chopped
  • 1 red onion, diced
  • 1 or 2 (depending on the size) red bell peppers, diced
  • a small handful each of parsley and cilantro (I snip it right off the bunch with clean kitchen shears)
  • 6 habenero peppers, seeded and minced super fine
(a note about the cilantro and parsley, you can use all one or the other, depending on your tastes)

Stir and omnomnom
   But one cannot live on salsa alone.  The other day I mentioned on my personal blog that I picked up some cream cheese and that I had a tasty, tasty plan for it.  Well I also bought these...
And with those, I made these...
  POPPERS!   And making these totally made me feel like this.

Chai-tastic!

Happy Saturday, everybody!

I'm currently cleaning, doing laundry, and baking sugar cookies, so this will be brief...but I just had to share this recipe with you for Chai Concentrate (based off the one found here...I had slightly different ingredients and had to tweak it a bit)


Since I was making sugar cookie dough WHILE steeping this, I spaced getting pictures, so you get a sad picture of my half-drunk Soy Chai on a dirty kitchen towel :)


K...so here you go :) enjoy!

Ingredients
  • 4 1/2 cups water
  • 10 black tea bags
  • 1 cinnamon stick, broken in half
  • ¼ teaspoon ground ginger (or 2 TBSP fresh?)
  • 7 whole cardamom pods
  • 10 whole cloves
  • ¼ teaspoon ground black pepper
  • ¼ teaspoon ground allspice
  • 1 teaspoon orange zest
  • ½ cup brown sugar
  • 1 tablespoon honey or maple syrup
  • 1 tablespoon Vanilla
Instructions
  • Bring the water to a boil in a medium saucepan over medium-high heat. Add the tea bags, spices and orange zest. Stir to combine, and remove from heat. Let steep 10 to 15 minutes.
  • Remove tea bags, and strain out the spices with a fine mesh sieve. Add brown sugar, honey and vanilla. Stir well to combine. Store in a jar in the fridge for up to a week.
  • Mix concentrate (I recommend shaking the jar really well first) with milk of your choice (I used vanilla soy milk. It tastes amazing!) in about a half-half ratio and work from there :)
Now, just a reminder, this and all recipes posted on The Domesticated Housedyke are also available to search on the sidebar to the right, or on our Recipes Page which can be accessed using the little fork and spoon just under the header at the top of the page.

Thanks for reading and have a lovely weekend! I'll post pictures of the cookies on our Tumblr page later...they should be pretty epic :)

Thursday, May 3, 2012

shortbread melties

my husband's favorite:  shortbread melties!  teeny tiny shortbread cookies that melt in your mouth...<drool>


WARNING: you WILL eat waaay more than you think you will.

1 cup room-temp butter, creamed
2 cups flour
1/2 cup sugar
half bag semi-sweet chips

OR

1 cup room-temp unsalted butter
2 cups flour
1/4 cup sugar
1/4 teaspoon salt
half bag milk chocolate chips

roll into 1 inch balls and bake for 13 minutes at 350 degrees.


Saturday, April 21, 2012

Kombucha Korset

Happy Saturday, everybody!


What a week!  I'm glad it's over.  and extra excited, because tonight we are harvesting our 4th batch of kombucha from our continuous brew system, made using the tutorial here.

This stuff is delicious! So far we haven't been very brave with flavor experimentation...it is good plain, or bottled with ginger and lemon juice, or ginger and lemon juice with a few Tbsp of dried orange peel thrown in...that last one is my current favorite, though you definitely want to sift out the peels after a day or two...they are tough to drink around!

one thing that has really helped us out is that we had the foresight to save our storebought kombucha bottles for bottling our homemade brew in.  The night we bottled our first batch, I peeled the labels off our clean bottles, and was left with this nasty, stubborn goo.


ick.  I've tried pretty much everything to get that stuff off...I know there is probably some sort of scary chemical I could use, but I opted to wrap them in brown paper and just cover it up.  bad idea.  when the brown paper comes off, it sticks to the goo and looks even worse.  Thus, the Kombucha Korset was born!


Take your bottle of choice, and using a piece of paper, make a template for how big you want your korset to be.  Now, mark the approximate location where you want your buttons to be.  try to keep them as evenly spaced as possible.  go ahead and lay that template on your fabric (make sure your fabric is face-to-face with the right sides in), and cut out roughly around it, leaving a bit of space around the edge.


Next, take some elastic thread (I used the heftier jewelry making type) and cut it into four 3 inch lengths.


Fold these in half and pin them as shown between the 2 fabrics at the spots you just marked. Make sure that the loop part sticks out a bit past your pattern.


Sew around your pattern, right along the edge, leaving a 2 inch space in the middle of the side opposite your loops (between the green arrows)


Using the gap, turn your piece right side out, fold in the extra fabric around the gap you left, and press the seams. Take care around the elastic so as not to melt it.


Now top stitch the whole dang thing close enough to the edge that you sew the gap shut :)


Using the elastic as a guide, sew on your buttons on the opposite end.


wrap your korset around your bottle, and stretch your elastic, tying it around the corresponding button to create a loop.


Trim your ends, and enjoy your kombucha korset!
(I am aware by the by that corset starts with a "c" not a "k")

Sunday, April 15, 2012

Homemade Wheat Thins!

Hiya, kids!

I have been a busy bee!

My continuous brew kombucha setup is finally producing, and I harvested my first batch on Thursday...delicious!  I should be able to get my second batch out of it later today...so exciting!


Surprisingly enough though, that isn't what we're going to talk about today.
 Today, I'm going to show you how to make your very own Wheat Thins style crackers, courtesy of Oh She Glows.  I tweaked her recipe just a tad, so I'm going to post my version here...and just in case you didn't notice, there is a new little fork and knife icon just below the blog banner...click there to see all the recipes posted here in easy to read format, courtesy of Recipage!  You can also search recipes based on different criteria using the toolbar on the right side of the page.

Feel free to drool over my super awesome antique Cracker Containment Unit, as well :)


Homemade Wheat Thins Recipe!

First off, preheat your oven to 400 degrees, and gather your dry ingredients:


  • 1 1/4 cups wheat flour
  • 1 1/2 T sugar
  • 1/2 t salt (keep extra salt nearby for sprinkling on top)
  • 1/4 t paprika
  • 1T flax seed

Combine and mix all your dry ingredients, and add 4T of ghee (room temp butter works as well)


Mix that all up until it is nice and crumbly looking


Now gather your wet ingredients:


  • 1/4 cup + 2 T water
  • 1/4 t vanilla
 Mix the water and vanilla together, and combine with your other ingredients. mix until it is all nice and doughy.


Now, divide your dough ball in half, (It is easier to work with half of it at a time) and transfer it onto a sheet of parchment paper.


Roll that out as thinly as possible, and use a pizza cutter to cut out your crackers grid style. Don't worry about re-working those edge pieces...personally, the irregular ones are my favorites! They get nice and crispy! :)


Just move your parchment paper and crackers onto a baking sheet, sprinkle the top with salt, and bake for 8-10 minutes, until the edges get nice and brown.  Enjoy!

Tuesday, April 10, 2012

Re-Grow Your Scallions!

I'm ALWAYS using scallions when I cook.  They might be one of my favorite ingredients in a good stir fry but I hate having to go to the store constantly to buy them.  So, I decided to get the most out of one bunch!

Leave the bottom part of your scallion intact when you cut it.  I left about 3 or 4 inches from the roots up.  Place them in a container, fill with water until it almost reaches the part of the scallion that turns green and put in a sunny window.  Now you wait!

Day 1:

Right after I saved the bottoms and put them in my water container.


Day 5:

I will be using these in my stir fry tonight!


Monday, April 2, 2012

I've got the sickies :(

I have a confession to make.  When I get sick, I turn into a big baby.  I am a lady, and yet I always manage to get man-colds.  You know, the ones where even though it is a normal cold, the fact that it is happening to you means that no one on the planet has ever suffered this much ever? Yeah.  those ones.

I am currently sick with one of those colds, which I will begin calling the Lez-Cold.  I went to work this morning, and lasted an hour.  Whined to myself the whole way home (all .9 miles of it...), and proceeded to camp out on the couch under the heated blanket with the Raisin-cat.


(exhibit A)

I can't stop coughing. My lungs feel like I decided to smoke a whole pack of menthols in one night. This is not the case. All we have around the house is that nasty daytime cold medicine that is so orange it even TASTES like orange (the color. not the fruit), and it isn't doing the trick.

After spending the morning perusing the internet between coughing fits and whining, I brewed up a pot of Ginger Lemon Honey tea. I am on my second quart of the stuff and feeling better!  I swear, easy cheap natural remedies made from stuff you find in your kitchen work TONS better than anything a pharmacy sells.

Next time you have a cold, be it "man-," "lez-," or regular type,  brew yourself up a batch of this and you'll feel a bit better.


Ginger Lemon Honey Tea

ok...this is super simple, so I don't have measurements...

Grab a medium saucepot.  Peel an inch-long piece of ginger, and slice it as thinly as you can into the pot. Add in a Tablespoon or two of lemon juice, and cover it all up with water.  Bring the whole thing to a boil, and drizzle in as much honey as you would like.  boil it for about 10 minutes, and pour it into your drinking container of choice, straining out any chunks.

Enjoy!

Bonus tip: if you happen to have mint tea laying around, add that to the mix while it is boiling.  yum!


This stuff is working wonders! Here are a few handy little facts for you:


Ginger: Ginger has been shown to be an effective remedy for nausea. It has also long been used as a natural treatment for colds and the flu. Many people also find ginger to be helpful in the case of stomach flus or food poisoning, which is not surprising given the positive effects ginger has upon the digestive tract.


Lemon: Lemons are highly valued for their vitamin C content. It is believed that consuming more vitamin C will reduce the risk of catching a cold and reduce its severity.


Honey: In addition to being just plain delicious, honey reduces cough by coating and soothing an irritated throat.


Not to mention all the water you're drinking with it!  And your house smells fantastic as a bonus! yay!

Hopefully you'll never have cause to use this, but if you do, Enjoy!

Saturday, March 31, 2012

Tastes like Spring!

Greetings!

Last weekend was The Girlfriend's (and Raisin-cat's, funny enough) Birthday, and she made the mistake of telling me that she didn't want a cake or anything.

ha!
Funny lady, thinking she knows what she wants ;)

I of course took that as a challenge, and made up a batch of these:


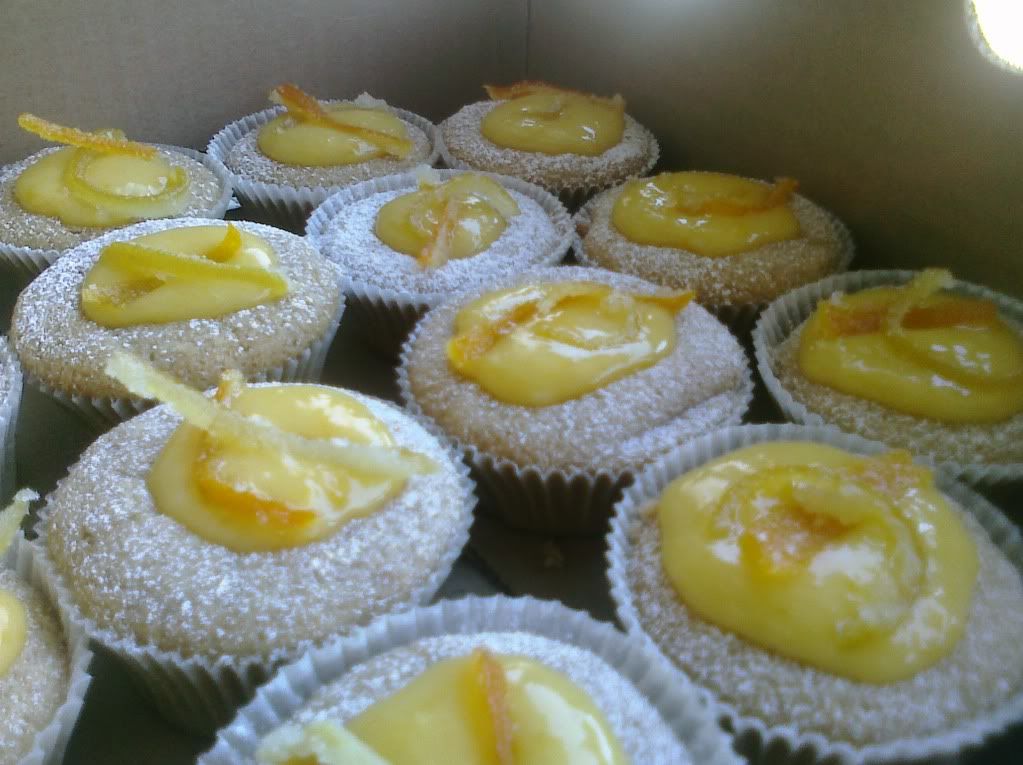
They are every bit as heavenly as they look. the recipe ended up making 32 cupcakes, and they ALL went faster than you can say "save one for the chef!" Even the Girlfriend was thrilled by them, and you lucky saps get the recipe :

you're welcome.

Lemon Cupcakes with Mango-Lime Curd and Candied Orange Peels


 First off, you want to make the peels. They have to dry out overnight, so lets start those.
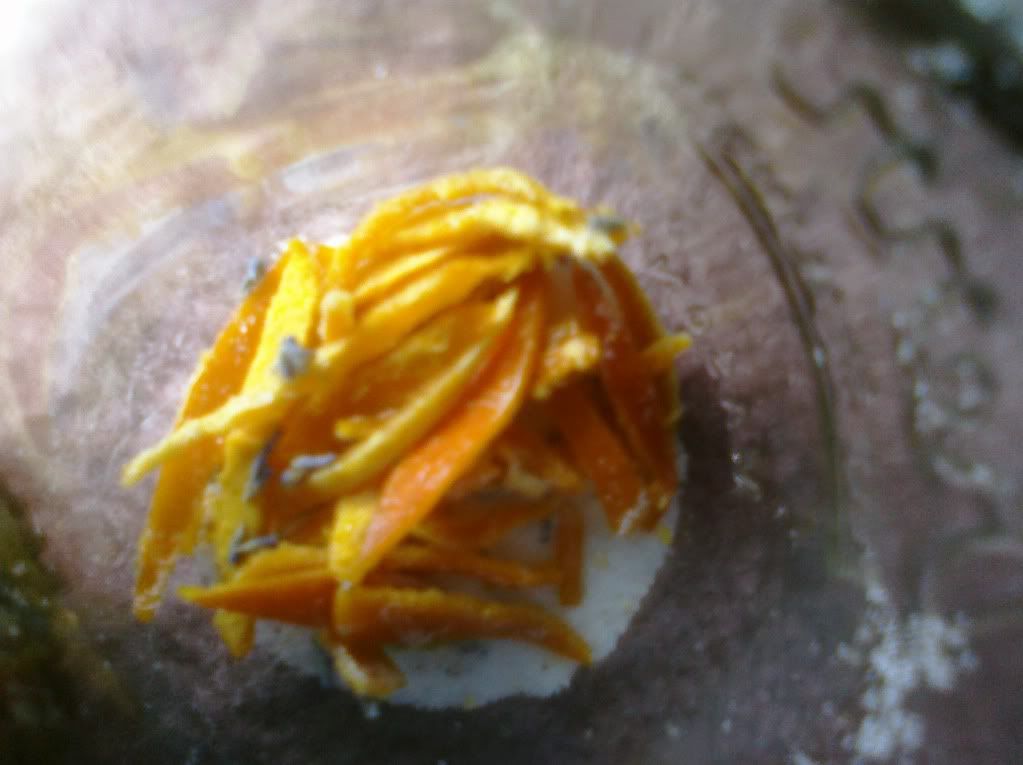
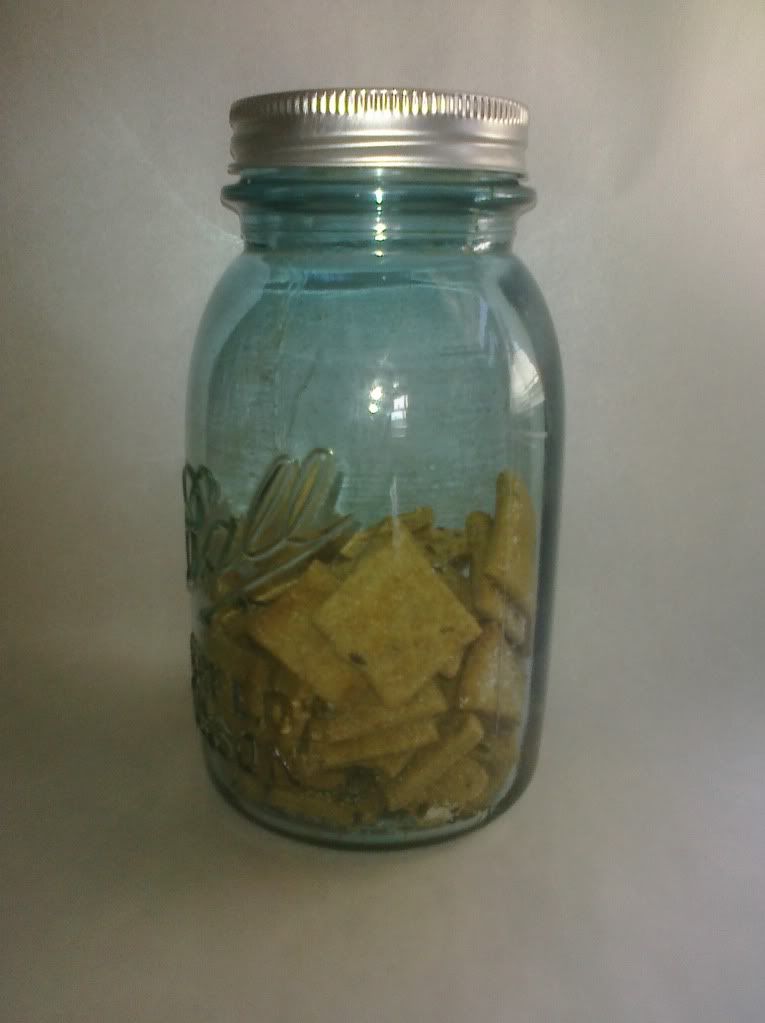
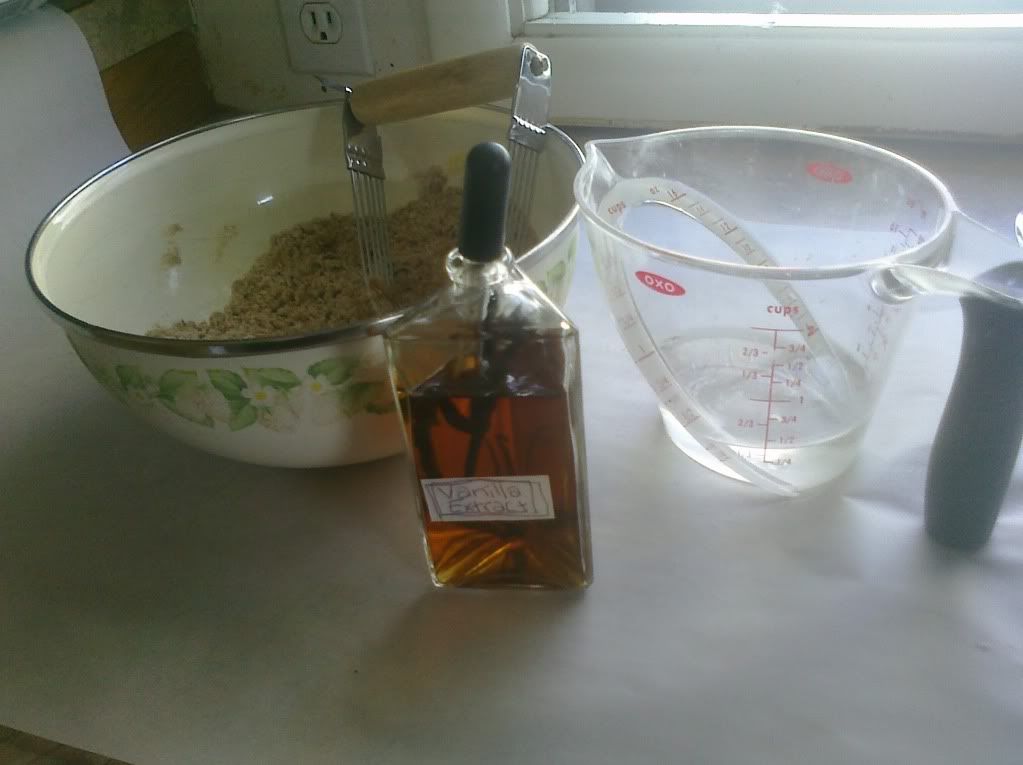
(please excuse the blurry picture..we don't have many left, and the cat was trying to eat me while I took it)
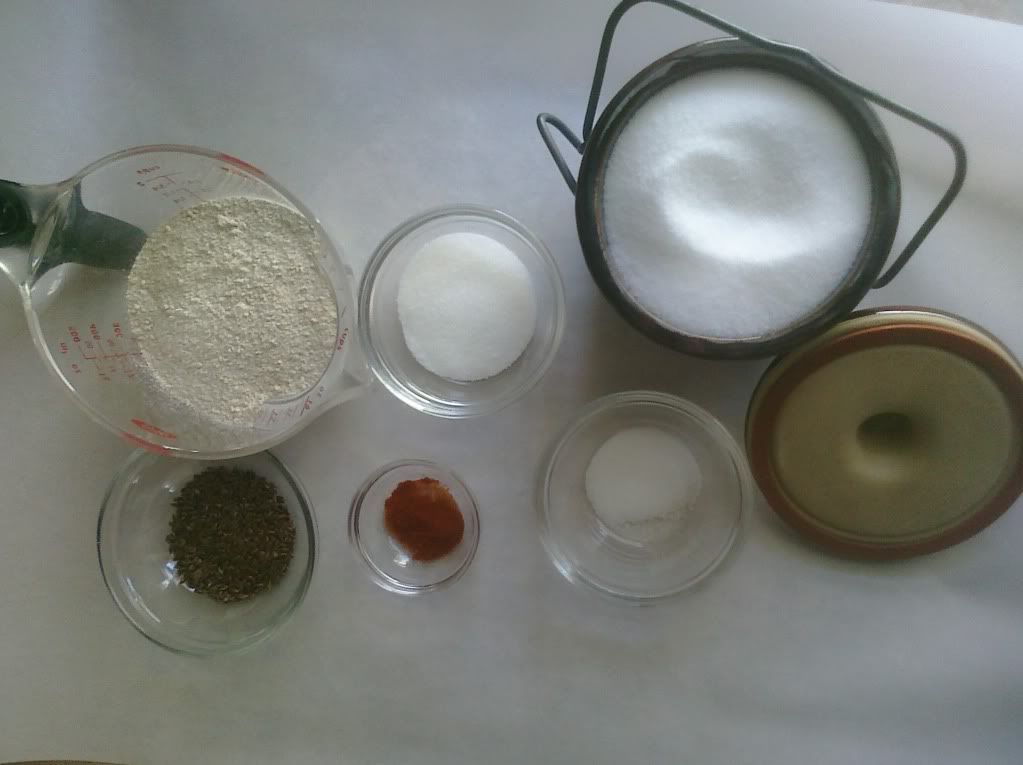
You need:
-Orange rind, Lemon rind, grapefruit rind, whatever citrus you want really
-Granulated sugar
-Water

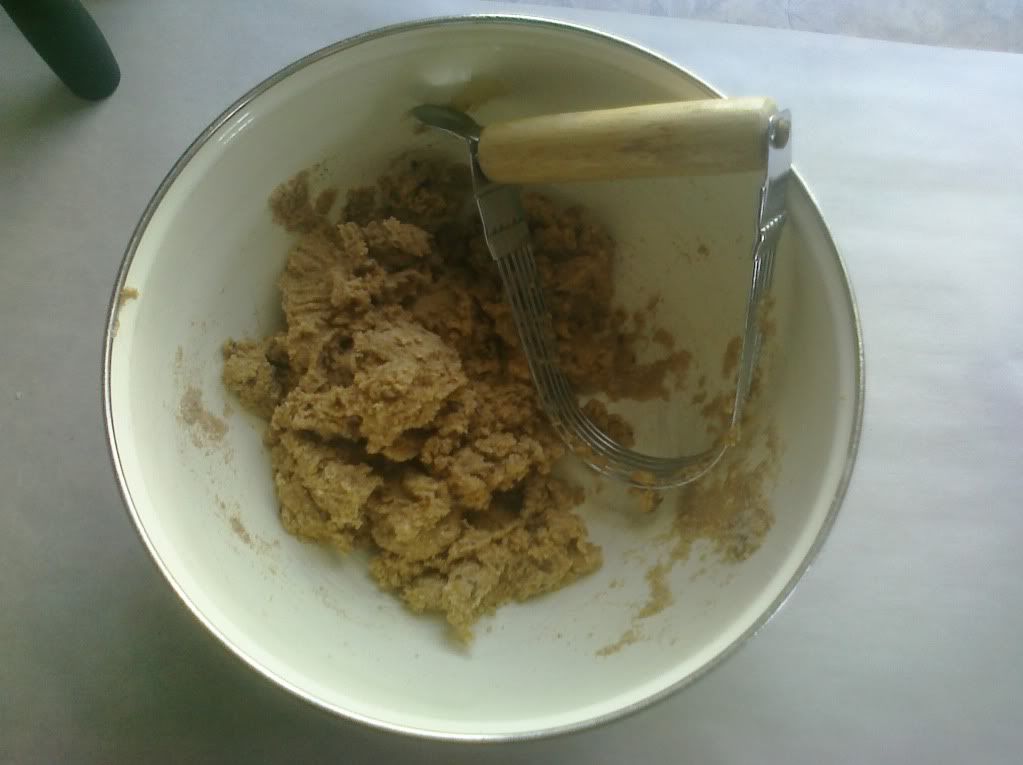
Before you peel your fruit, go ahead and give the outside a good scrub. This will clean off any chemicals that may have found their way onto them, and also get off that waxy stuff they put on it to make it shiny. Now, try to peel the fruit in quarters if you can. you want the chunks to be big-ish so that they are easier to scrape the pith out of later.

Once you are done,go ahead and dump all your peels in a pot and cover them in cold water. Bring that to a boil, and let it continue to boil for 10 minutes. Then, dump out the water and do it again. You are going to cover the peels in water and bring it to a boil a total of 3 times. After the third time, rinse them in cold water so that you don't burn yourself, and use a knife or spoon to scrape out the pith. when i did this, i tried actually "scraping" the pith out. I found that the easiest and fastest way is to get a sharp knife and cut it out (did anyone else hear that in the voice of Uncle Joey from "Full House?" No? Just me? ok then...ahem...)

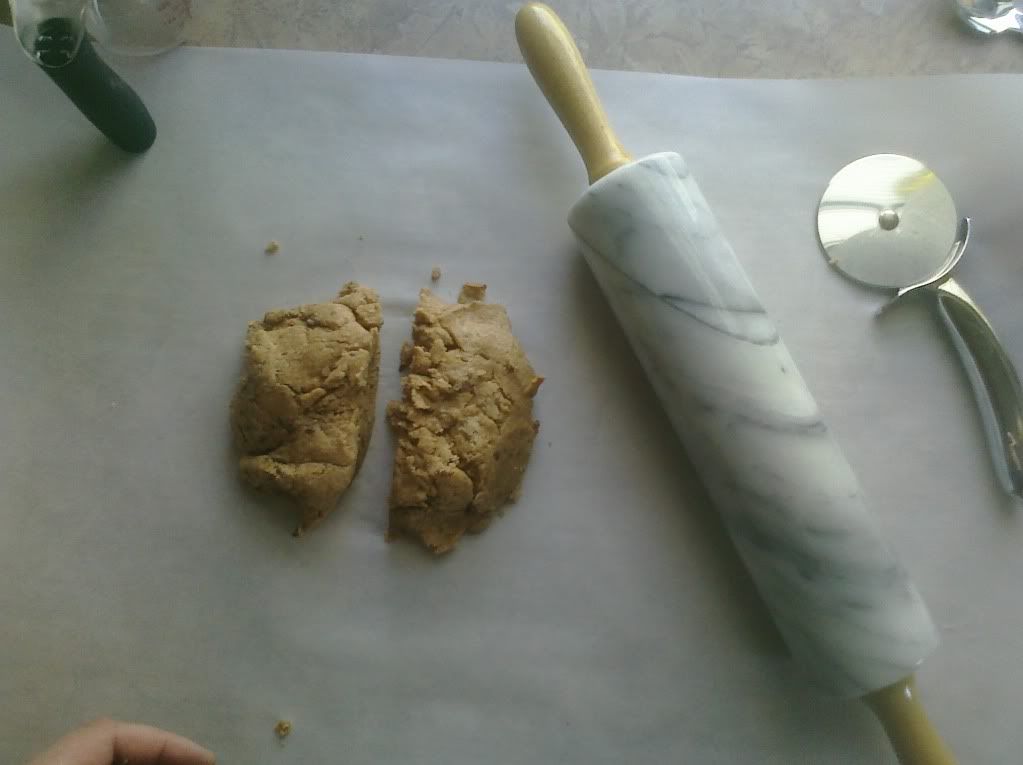
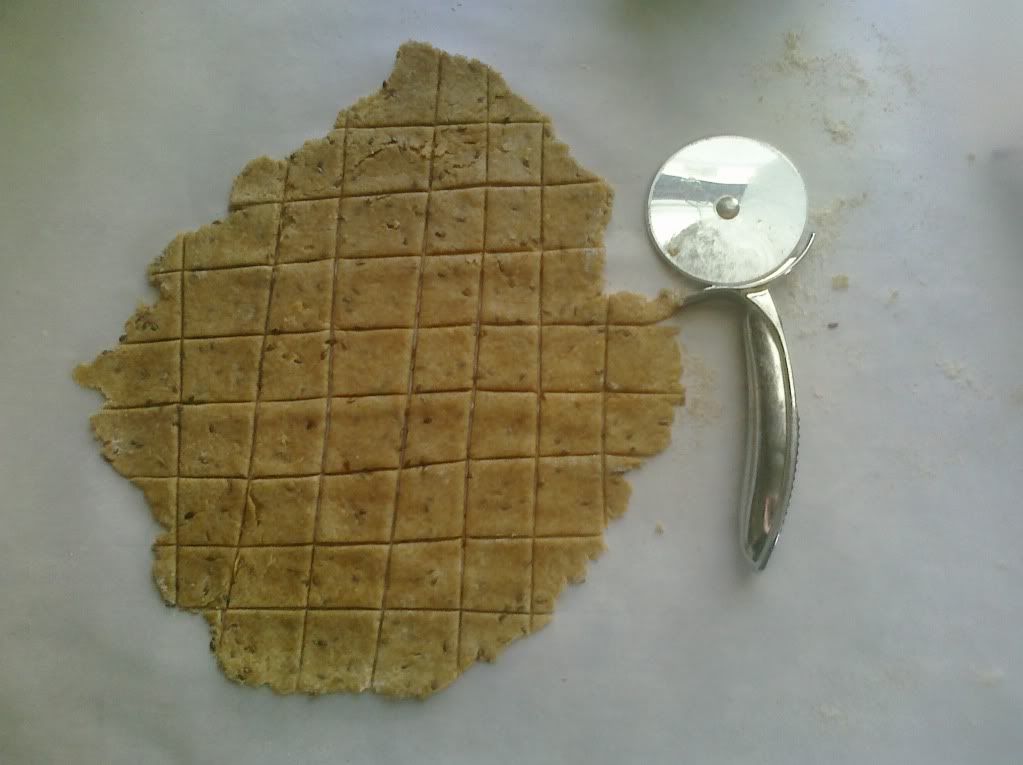
Slice up your peels into strips about 1/4 - 1/8 inch thick, and measure them out. For every cup of sliced peel you have, you want to mix together 1 cup water with 1 cup sugar until it dissolves. (using slightly warm water helps speed this along drastically) Toss in your peels, and let them soak for a couple of hours. once that is done, just toss them around in some sugar (i used lavender sugar...yum!), and let them dry on a tray overnight.

Tada! 

Now, try not to eat them all before your cupcakes are done. I know it is hard, but trust me...you'll be glad you waited! (also, don't get impatient and stick them in your dehydrator to speed up the drying process...it makes them weird)

Ok...now we are going to make our:

Mango-Lime Curd!
Please excuse the dirty stove...
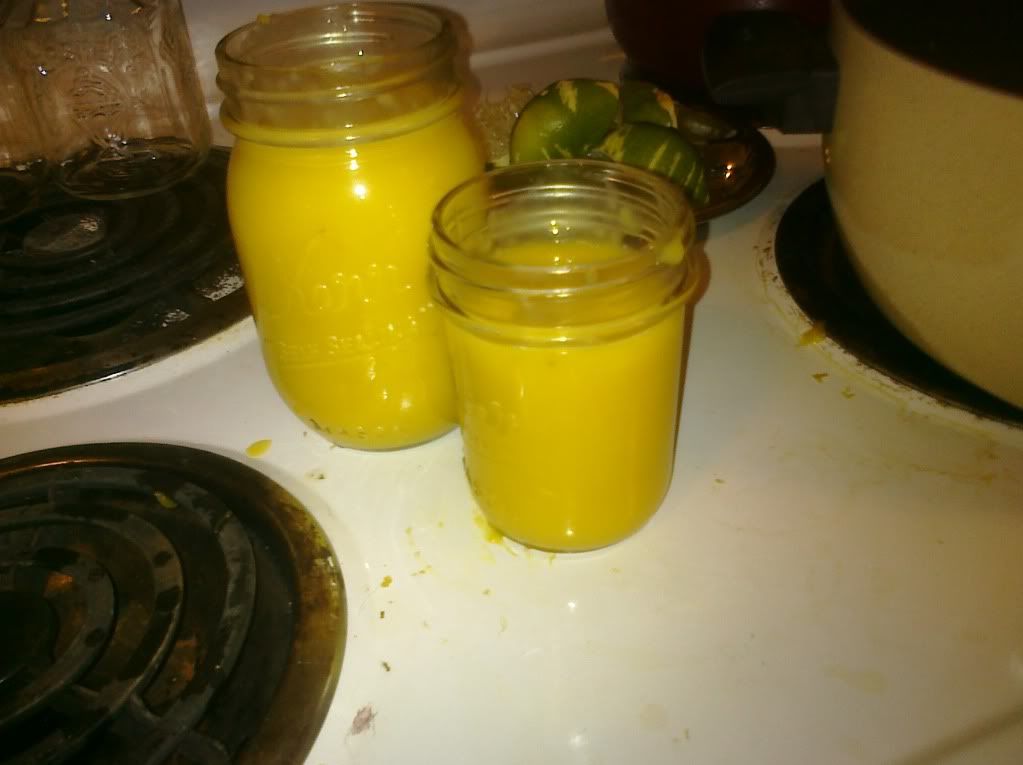
   
Makes Makes about 1 1/2 cups

Ingredients

  • 2 large ripe mangoes, peeled, cheeks removed and flesh roughly chopped (or 8 small mangoes if that is what you have access to...)
  • 160g butter, cubed or 2/3 cup ghee
  • 1 teaspoon lime zest
  • 1/3 cup (80ml) fresh strained lime juice (around 2-3 limes)
  • 1 cup (225g) sugar
  • 4 eggs, beaten
Take your mango chunks and puree them using your preferred method...obviously a blender or food processor would be the quickest way, but if your blender is say, in the sink crusted with gunk from the mustard you just made, an old-school hand cranked food mill (See picture below) will also do the trick...slowly...


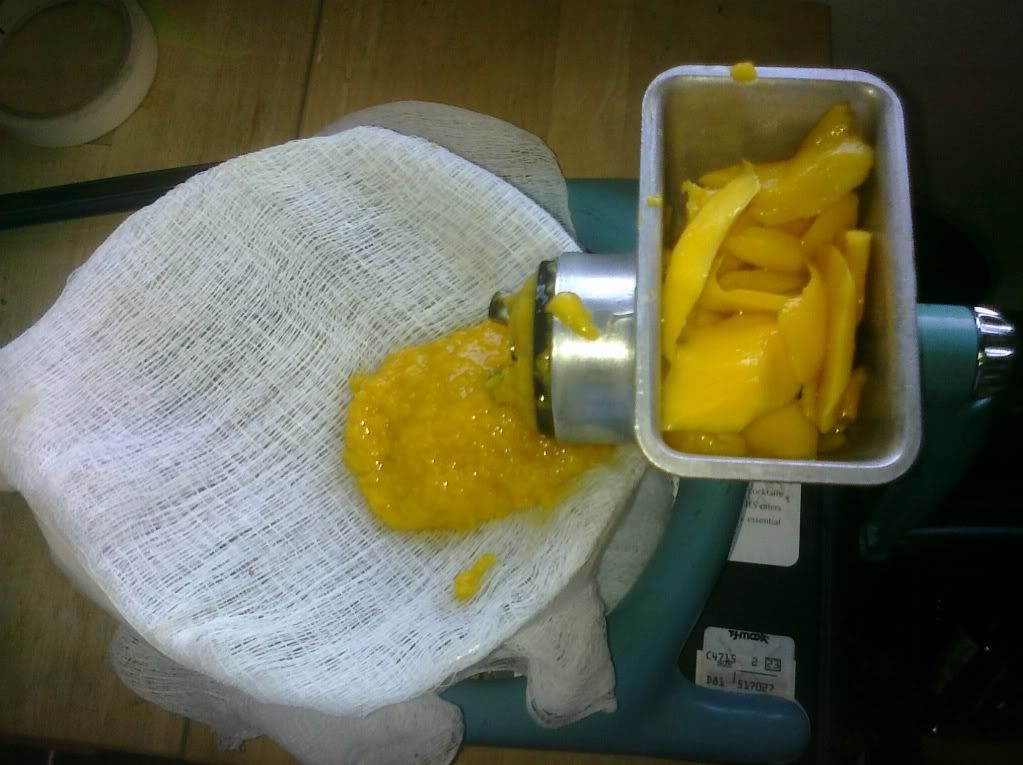
Now, you want to strain the pulpy bits out, and though a wire mesh strainer thing would be ideal, if you happen to have an abundance of cheesecloth (Honks dollar store, 88cents tuesdays. check the craft aisle. you're welcome.), that will work as well...just be sure to change out the cloth when it starts getting worn out, or it will tear, and ALL your pulp you sifted will dump into your nice smooth pile of mango puree. Push the puree through your straining apparatus of choice with the back of a spoon, or one of those nifty silicone spatulas (provided yours aren't all dirty...like mine were) until you have 1 1/4 cups of puree. Set this aside for later.

Melt your butter or ghee (yum!) in a medium heavy-based pan over medium heat. I have no idea why you need to use a "heavy based pan." I'm sure there is a perfectly good reason for this, but being the rebel I am, I used a regular cheap lightweight pan and mine turned out just fine...anyway, as soon as it's melted, but not overly hot, whisk in the remaining ingredients including mango puree.

Turn the temperature down to medium-low and cook gently, stirring constantly with a wooden spoon for 6-10 minutes until mixture thickens and coats the back of the spoon.  If you have to ask your roommate who is watching you do this if the mixture has thickened yet, it hasn't. You'll know when it does.

 At no stage do you ever want the mixture to near boiling point, or you will end up scrambling the eggs. While I 
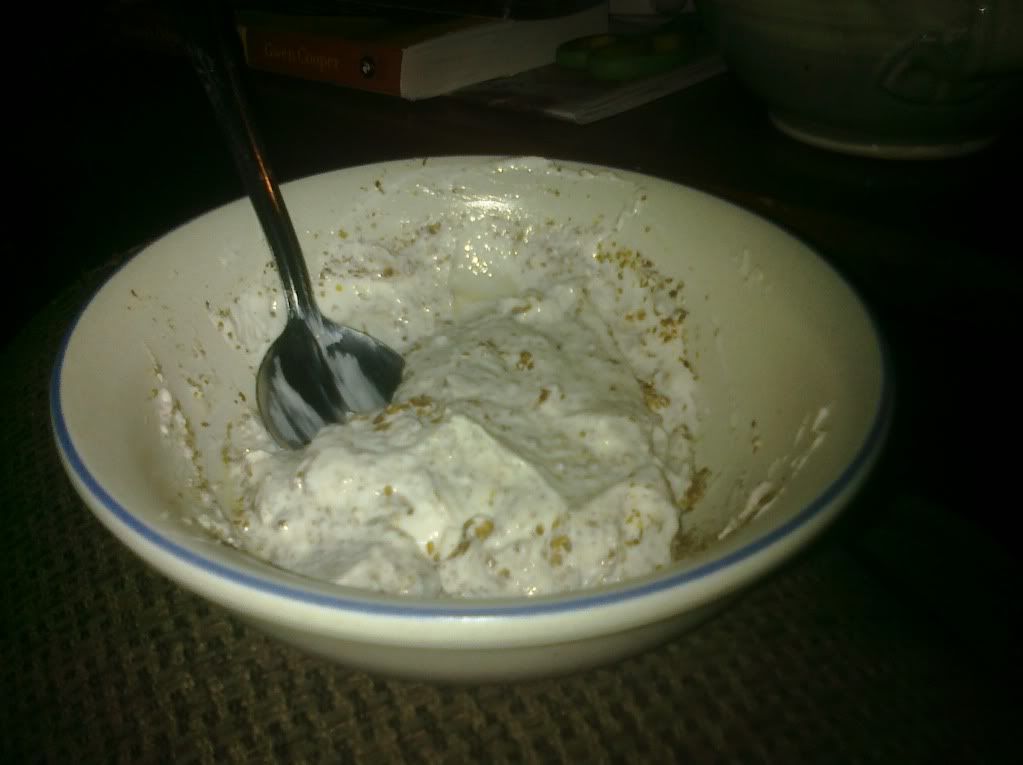
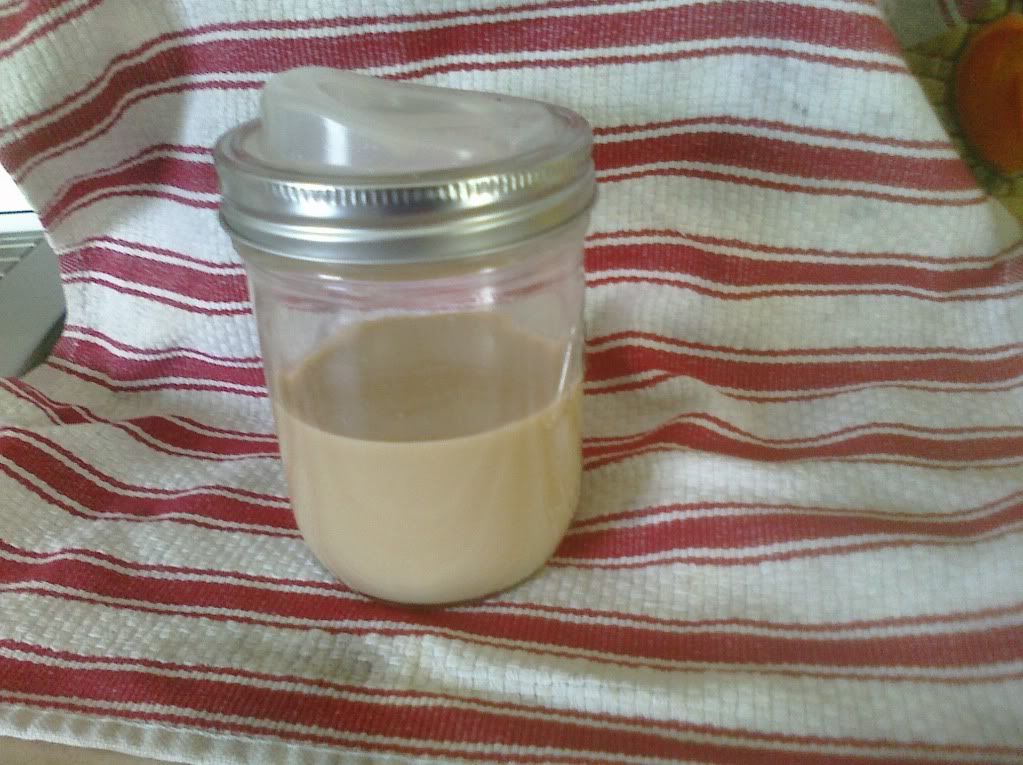
have heard that mango and scrambled eggs are delicious together, that is not the point of this recipe, so don't do it. When the mixture is awesome and thick, and curdy looking, remove it from the heat and pass through your straining apparatus again to remove lime zest and any random bits of egg white that may have decided to scramble. Transfer the curd to warm sterilized jars and seal while hot. Store in the fridge unopened for up to 2 months and use within 1 week once opened. Or, be cool like me and fill cupcakes with most of the curd, and freeze the rest in a dollar store popsicle mold. you won't regret it :)

Now the moment you have been waiting for! combining it all to make:

Lemon Cupcakes with Mango-Lime Curd and Candied Orange Peels!
  • 2 2/3 cups wheat flour
  • 1 1/2 tsp baking powder
  • 1/2 tsp salt
  • 3/4 cup ghee (or room temp butter. but ghee has such a lovely nutty flavor, it wouldn't be the same.)
  • 1 2/3 cup sugar
  • 1 tsp lemon extract
  • 2 large eggs
  • 2 tsp vanilla extract
  • 1 cup milk
  • approx 1 1/2 cups mango-lime curd

Preheat oven to 350F. Line your muffin cups with paper liners.  The recipe I went off of said it made 24, but I got 32 cupcakes. I suppose it all just depends on how full you fill the cups. also, my liners were a little too small for my muffin pan, so that probably made a difference.

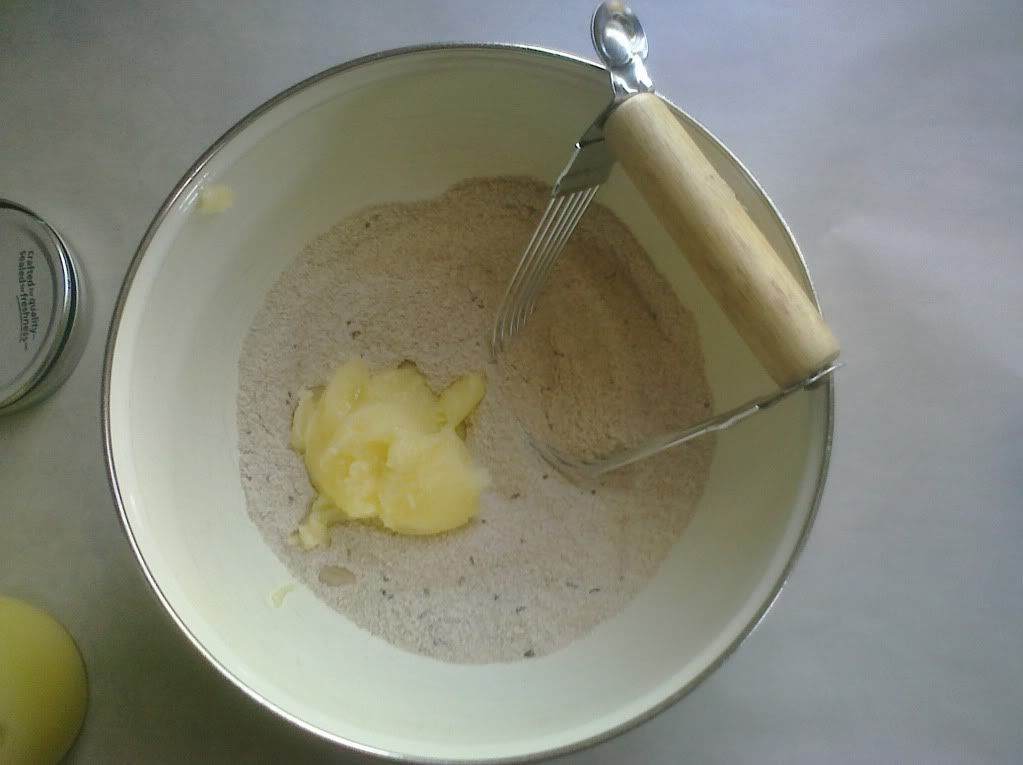
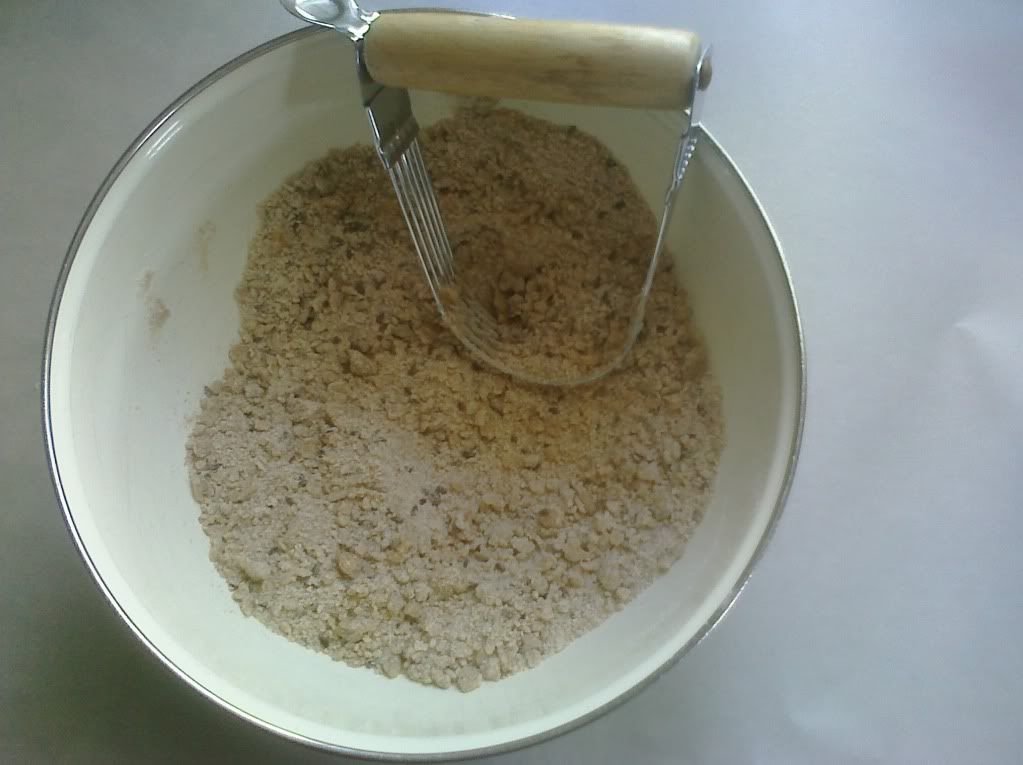
In one bowl, whisk together flour, baking powder and salt.

In another bowl, cream together butter and sugar until light and fluffy. If you don't have a mixer, you can absolutely do this with a fork. Contrary to popular belief, you don't need fancy equipment to bake. 
Blend in the eggs one at a time, followed by the lemon and vanilla extract (to be honest, next time I make this I will probably do 2 tsp of the lemon and 1 tsp of the vanilla...they weren't lemony enough for me)
Stir in 1/3 of the flour mixture, followed by half of the milk. Add another 1/3 of the flour and the remaining milk, then stir in the remaining flour, mixing only until no streaks of flour remain.
Divide batter evenly into prepared muffin cups, filling each about 3/4 full.
Bake for 16-19 minutes, until a toothpick inserted into the center comes out clean.

Cool completely on a wire rack.

To fill, use a small knife to carve a small cone out of each cupcake. You must then eat the piece you cut out...you know...for quality control!
Fill the depression with 2 tsp curd (bonus tip! put the curd in a zip-top baggie and cut the corner off to do this...way easier!), top with candied orange peels, and dust lightly with powdered sugar. (If you are planning on taking these somewhere, I recommend transferring them to their container before you fill them, if you want to avoid having to worry about messing up your beautiful cupcakes)


Serve shortly after filling. Trust me on this. If you wait too long, they will still taste good, but the texture goes all wonky. Unfilled cupcakes can be stored in an airtight container until ready to fill and serve.

if anyone makes a variation on these, I'd love to see it!   I'm thinking of redoing the recipe with the lemonier cupcake modification I mentioned, and filling them with strawberry curd to make Strawberry lemonade cupcakes. Yum!

Enjoy your day!

Sunday, March 25, 2012

The Mustard Project

Hello!

I thought I'd share a little project with you that I just started.

A few weeks ago, a local bargain grocer was having a going out of business sale. very sad, but we managed to snatch up about 3 pint jars worth of mustard seeds for around $3!  We have been making our own mustard (and loving it) with them.  It is easy as pie to make gourmet mustard in your own kitchen for cheap!

All you do is soak 4oz of your seeds in 3/4 cup beer (guinness is my favorite so far)  and 3/4 cup vinegar (any beer, any vinegar, you can also use 1 1/2 cup beer or 1 1/2 cup vinegar if you like) overnight, then toss it in the blender with a tablespoon of brown sugar, a teaspoon of salt, and either a tablespoon of honey (if you don't like super spicy mustard) or a clove of chopped up garlic (if you like a little kick) and blend it up until it stops being runny. BAM! mustard! as long as you didn't use anything perishable, it keeps in your pantry for a couple months (assuming you don't consume it first), and it is WONDERFUL!  We can't eat store bought mustard any more. it has ruined us for them.

...The problem is, unless you luck out and find mustard seed on the cheap, it can get a little spendy.  So, I did some research and learned that mustard is easy to grow, and propegates itself easily!  I tested some of the seeds we bought and fortunately they weren't treated with any chemicals to stop sprouting...so I dug through the recycling bin and came up with an egg carton (wonderful for starting seedlings in because they will biodegrade, which makes it easy to transfer your seedlings to a pot or garden plot without damaging the fragile little roots), and a large plastic strawberry box (we bought a flat, so we have no shortage of these useful boxes right now!)

Add a little potting soil, and put the egg carton in side the strawberry box. about 6 of the egg divots fit in mine, so i put 2 mustard seeds into each one just to be sure that they sprout.  The front of our house is south-facing, and has a big window, about 12 feet long, so it is really ideal for sprouting and growing plants in...unfortunately, it is also Raisin-cat's favorite window, so i think i am going to have to build some sort of box this summer that takes up about half of the window, to keep her from knocking my plantlings over. :/

I'll post progress pictures of my mustard-babies once they start poking out of the dirt.

have a wonderful day, and enjoy the rest of your weekend!

edit: well, too much moisture was already evaporating out of the little holes in the lid of the box, so i just sealed them up with hot glue, and it seems to be doing the trick :)

Thursday, March 22, 2012

LisaFlyy

A contributor to this blog:

Cat lover, Cold-war love child, constant advocate of social justice, meat-free, NPR addict, daughter(ish) of the original author of this blog.

Spread love, hug cats, hug children. . . squeeze.

Wednesday, March 21, 2012

Hello, world!


 Welcome to The Domesticated Housedyke!
(don't mind the dust...we're busy building a better blog!)

Ok...I figure I'll take this opportunity to post a bit of a mission statement, and introduce myself.

I'm the HouseDyke, and this whole mess is my idea.  I live with my wonderful Girlfriend (I hate that word. It doesn't do our relationship justice, but "partner" is so cheesy.) of two years, and our psychotic cat-child, Raisin.  The Girlfriend has some health problems, so I recently got very much into cooking, in an effort to fill her tummy with good nutrition, instead of the pre-made frozen meals that she would eat if left to her own devices. (sigh)

One thing led to another, and now I am very into homemaking.  I now Can, Bake, Cook, Extract, Dehydrate, and Ferment like nobody's business.  Add that to my sewing, knitting, and embroidery obsessions, not to mention my unfortunate love of power tools and sharp things(we are given cause at least twice a week to be grateful that I'm up to date on my tetanus shot!), and I'm sure you can imagine the amount of time I spend perusing the internet for good cooking/crafting/homemaking blogs. Enter the "Domesticated Housedyke," which is thus named because a friend once called me that as I donned my apron and bustled about the kitchen...I liked it, so it stuck :)


The whole point of this site is to show that you don't have to be a person with a traditional life/relationship/religion in order to 
enjoy traditional activities.

Often times when reading certain crafting websites, I'll come across posts which make me feel like, while the author of the blog appreciates seeing hits on their counter, they may not necessarily be thrilled that a crafty Lesbian is a part of their regular site traffic.  I hold nothing against these people, but my personal mantra is "respect others who respect you," and I decided that I wanted to put together a community of people from all walks of life, helping each other better their lives creatively, using that mantra.

This blog will have a little bit of everything, with guest-posts, and all sorts of fun. Underneath it all however, I ask that you maintain that idea of respecting others.  We will have posts from members of the LGBTQ community, in addition to advocates...people with tattoos, people with kids, people with both...cat people, dog people, fish people and chicken people.  All good people with good ideas, and good hearts.  All comments will be moderated, just in case, but I hope that everyone finds this to be a safe place to find wonderful ideas.

All types are welcome here, so if you are interested in becoming a guest poster once everything is up and running, shoot me an email! 

Thanks for reading this loooong boring post...stay tuned for some better ones :)