Home About the AuthorsContact UsContact Us

Saturday, April 21, 2012

Kombucha Korset

Happy Saturday, everybody!


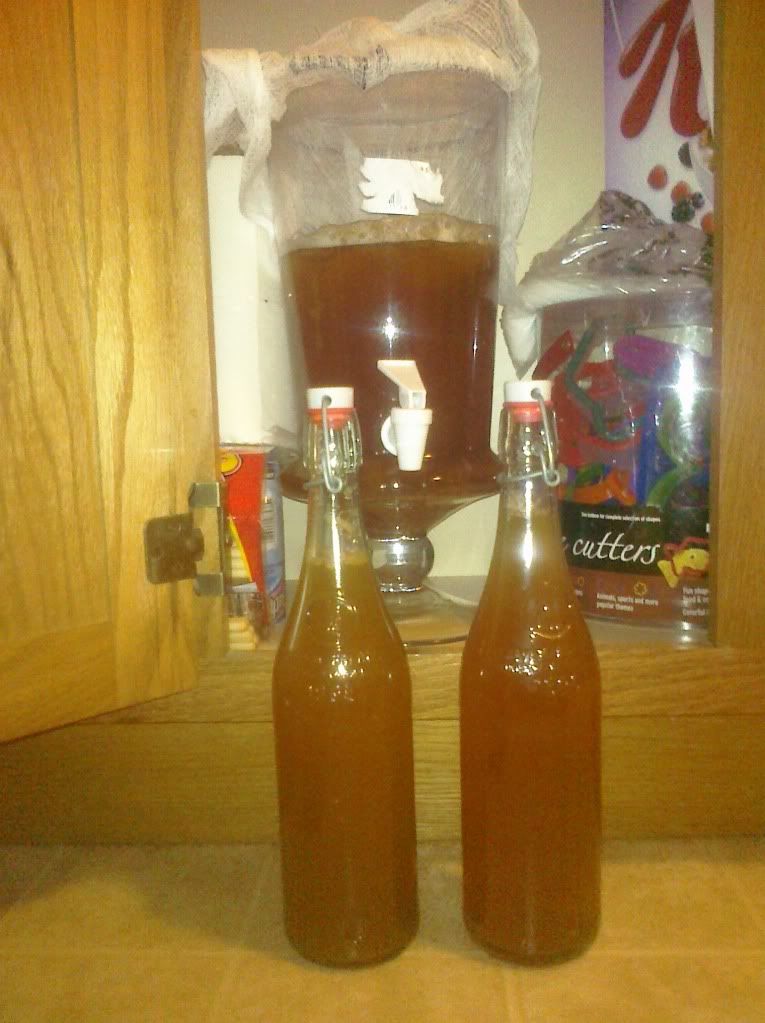
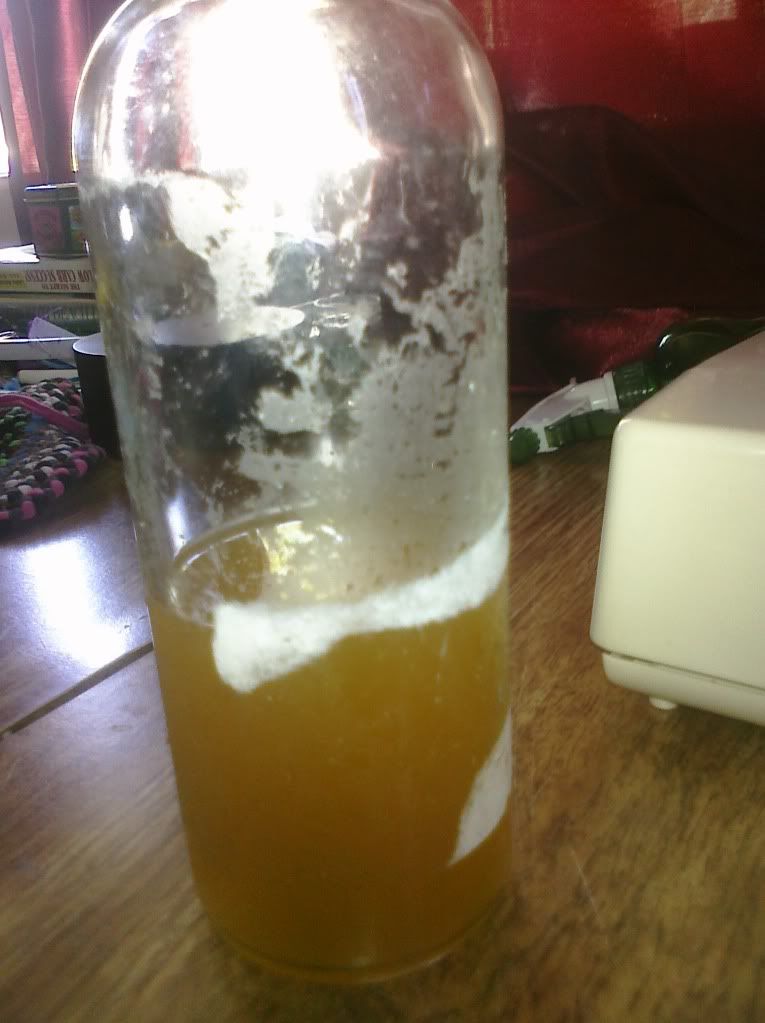
What a week!  I'm glad it's over.  and extra excited, because tonight we are harvesting our 4th batch of kombucha from our continuous brew system, made using the tutorial here.

This stuff is delicious! So far we haven't been very brave with flavor experimentation...it is good plain, or bottled with ginger and lemon juice, or ginger and lemon juice with a few Tbsp of dried orange peel thrown in...that last one is my current favorite, though you definitely want to sift out the peels after a day or two...they are tough to drink around!

one thing that has really helped us out is that we had the foresight to save our storebought kombucha bottles for bottling our homemade brew in.  The night we bottled our first batch, I peeled the labels off our clean bottles, and was left with this nasty, stubborn goo.


ick.  I've tried pretty much everything to get that stuff off...I know there is probably some sort of scary chemical I could use, but I opted to wrap them in brown paper and just cover it up.  bad idea.  when the brown paper comes off, it sticks to the goo and looks even worse.  Thus, the Kombucha Korset was born!


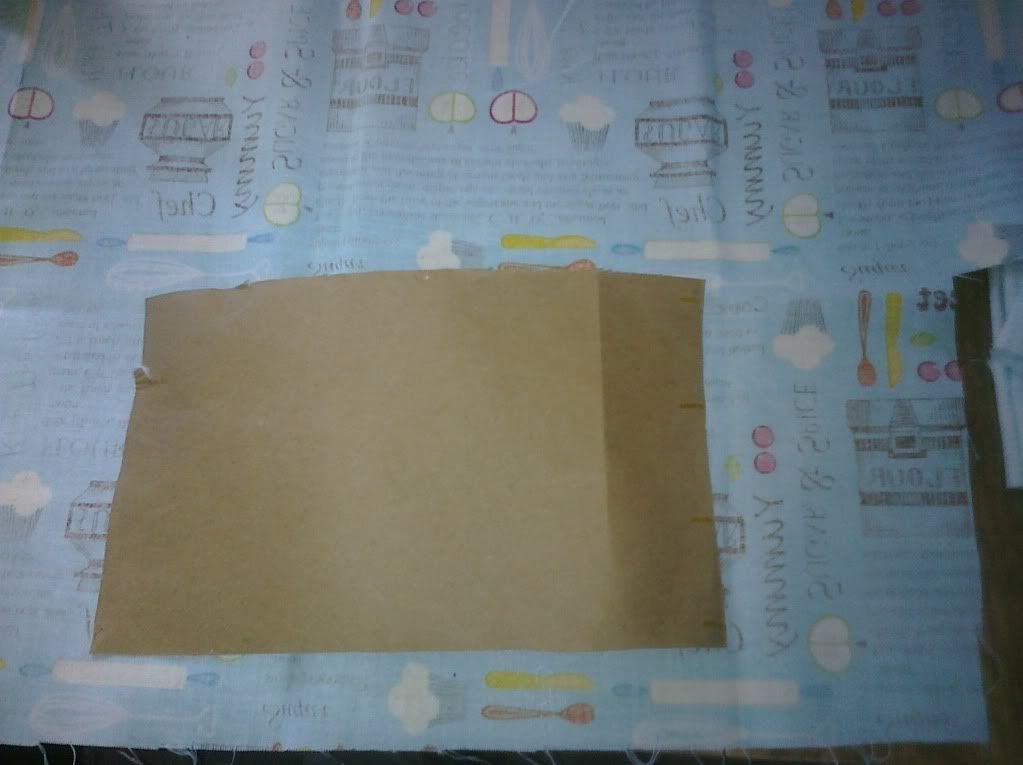
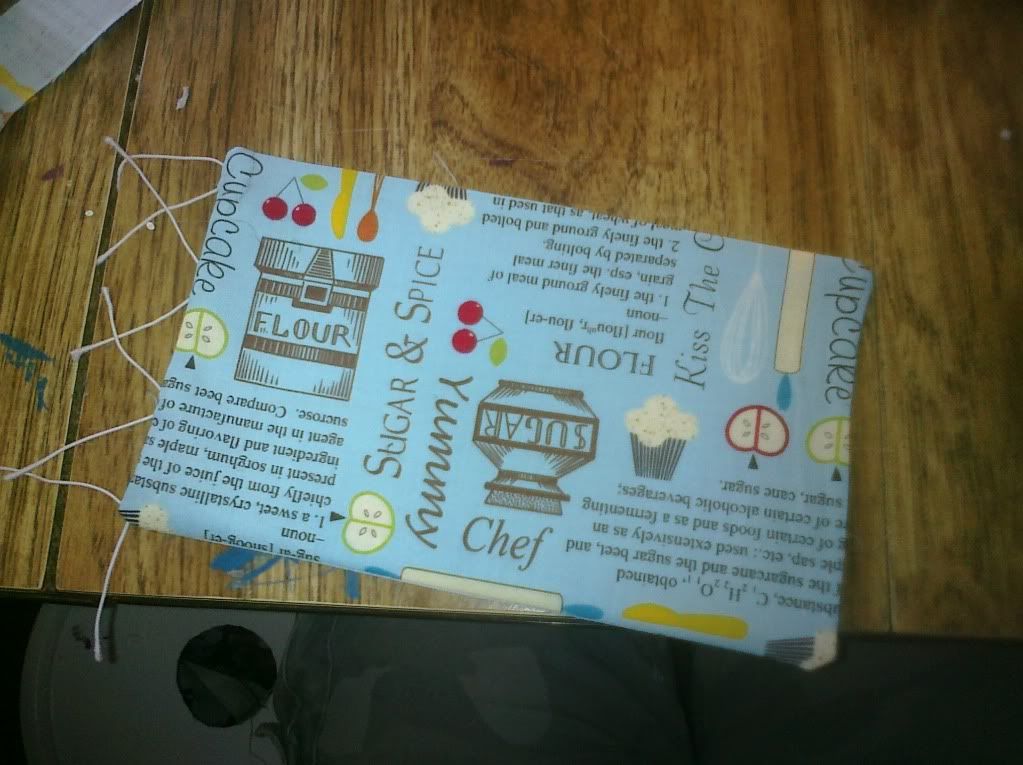
Take your bottle of choice, and using a piece of paper, make a template for how big you want your korset to be.  Now, mark the approximate location where you want your buttons to be.  try to keep them as evenly spaced as possible.  go ahead and lay that template on your fabric (make sure your fabric is face-to-face with the right sides in), and cut out roughly around it, leaving a bit of space around the edge.


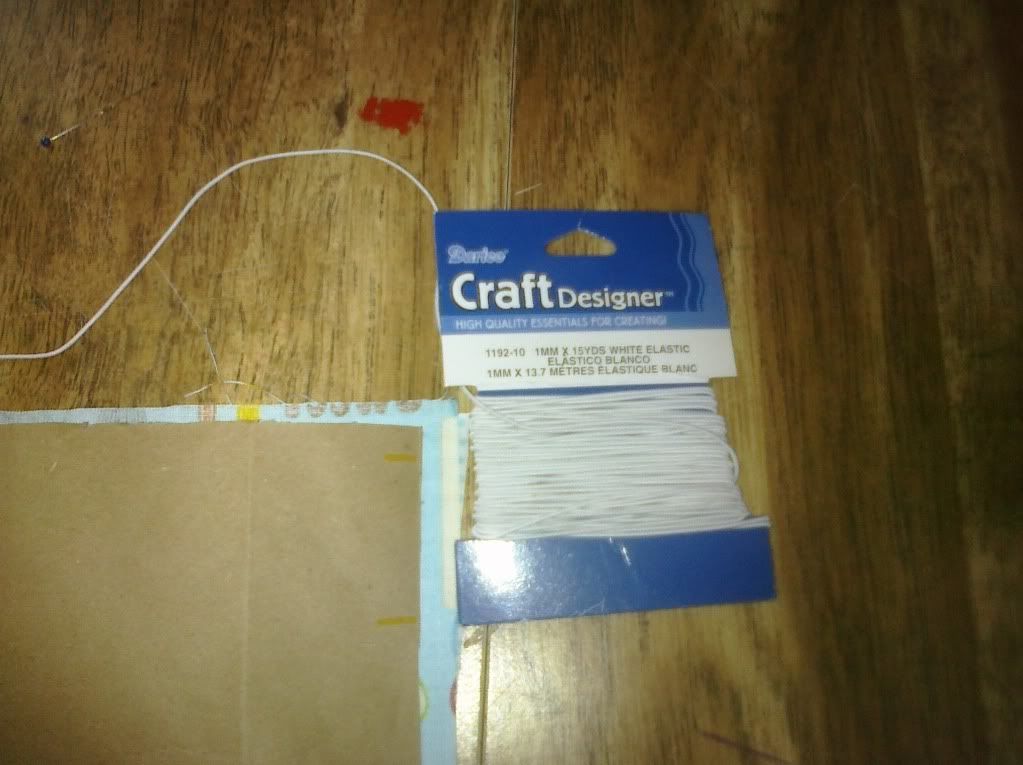
Next, take some elastic thread (I used the heftier jewelry making type) and cut it into four 3 inch lengths.


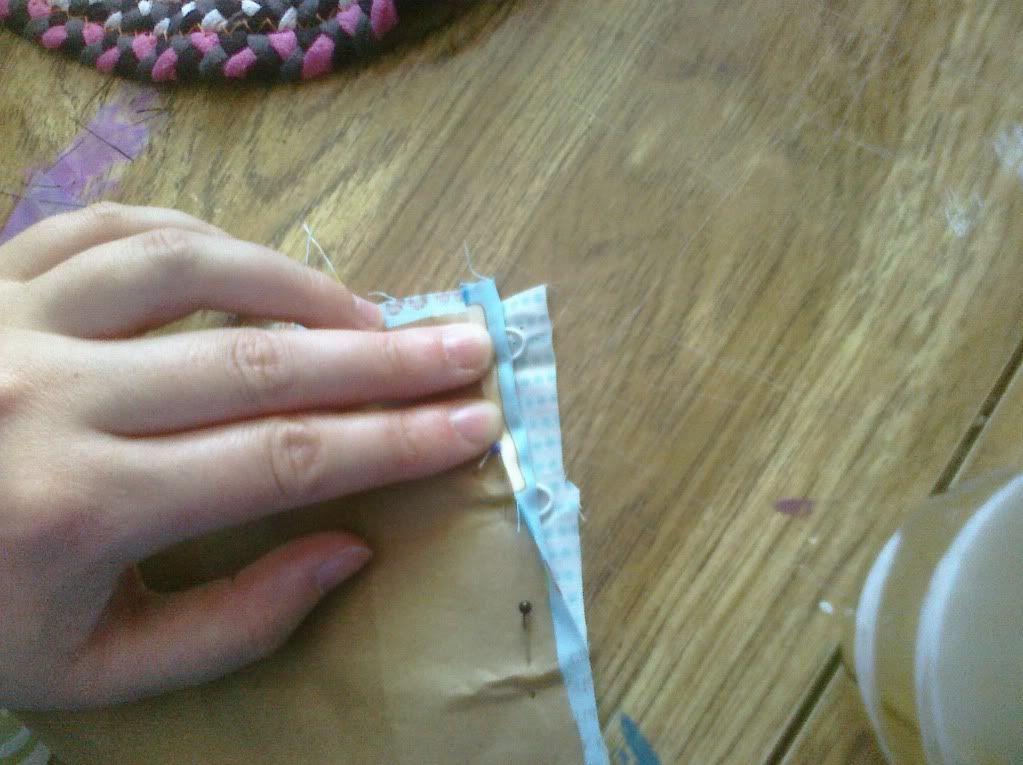
Fold these in half and pin them as shown between the 2 fabrics at the spots you just marked. Make sure that the loop part sticks out a bit past your pattern.


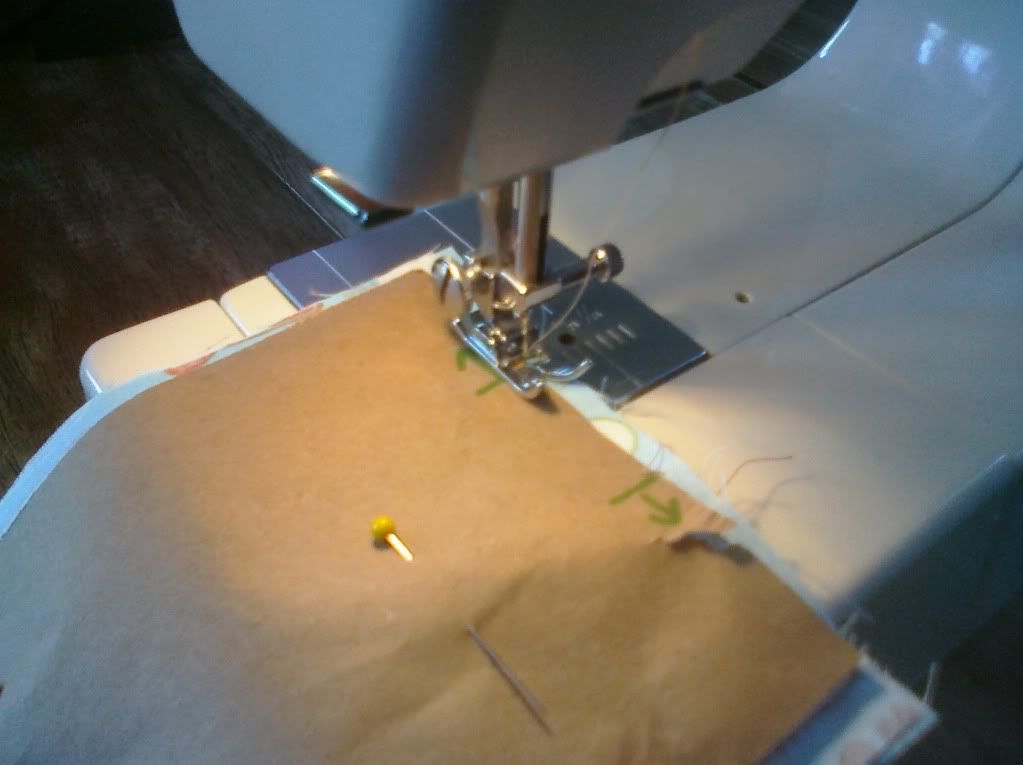
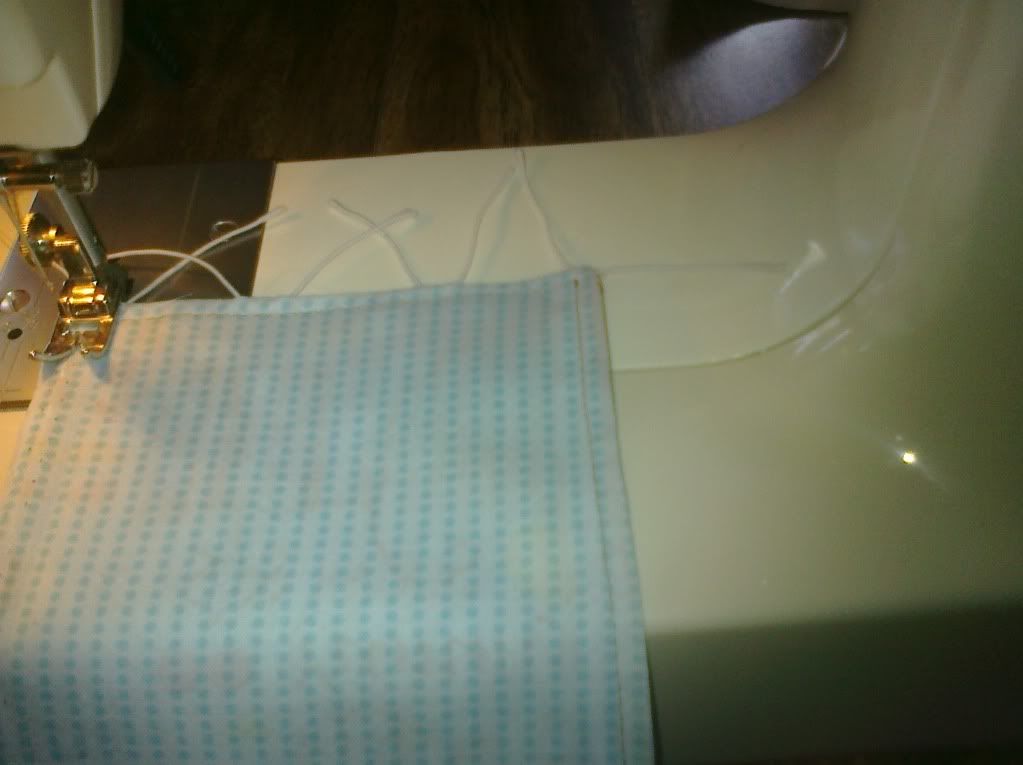
Sew around your pattern, right along the edge, leaving a 2 inch space in the middle of the side opposite your loops (between the green arrows)


Using the gap, turn your piece right side out, fold in the extra fabric around the gap you left, and press the seams. Take care around the elastic so as not to melt it.


Now top stitch the whole dang thing close enough to the edge that you sew the gap shut :)


Using the elastic as a guide, sew on your buttons on the opposite end.


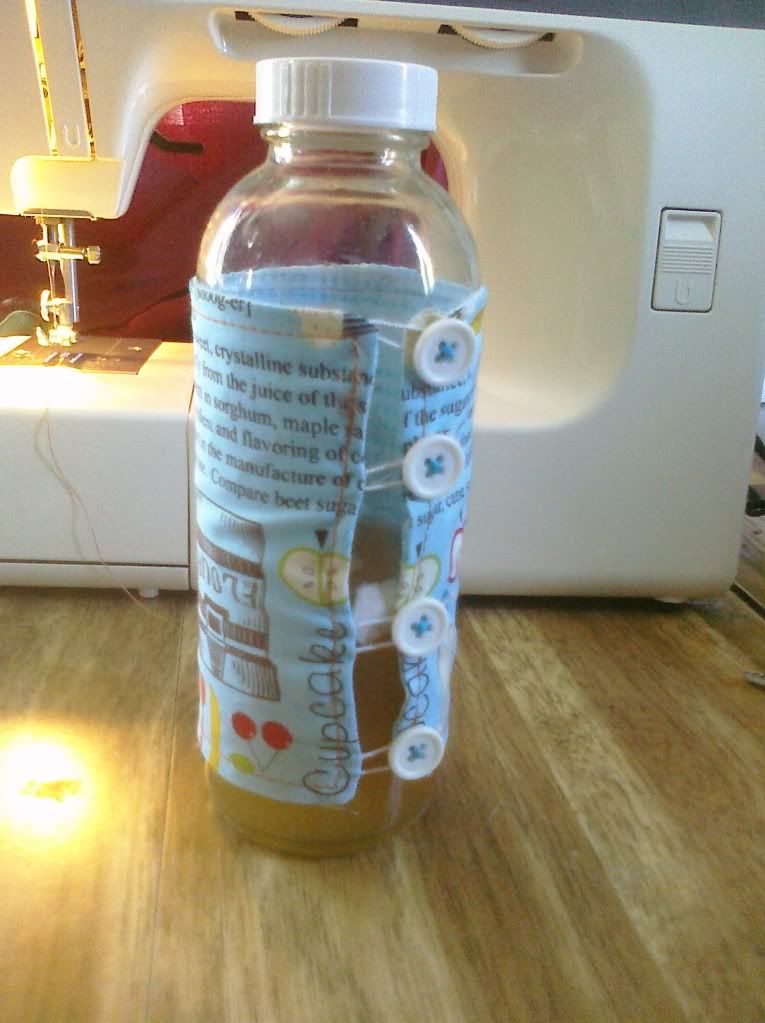
wrap your korset around your bottle, and stretch your elastic, tying it around the corresponding button to create a loop.


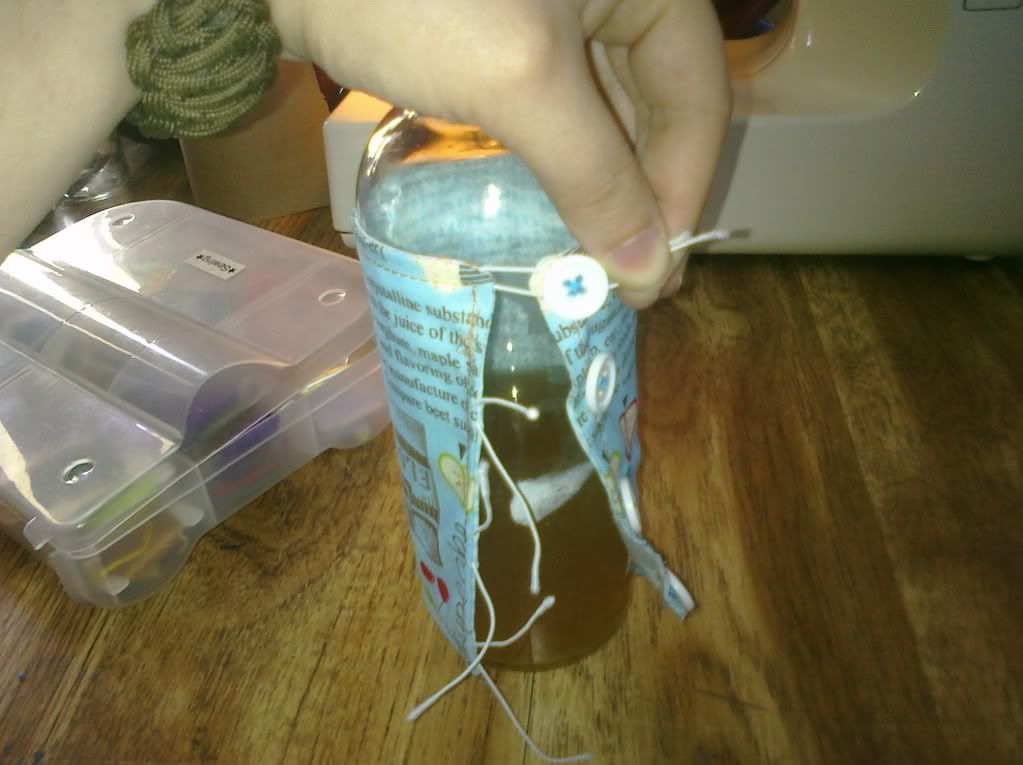
Trim your ends, and enjoy your kombucha korset!
(I am aware by the by that corset starts with a "c" not a "k")

Sunday, April 15, 2012

Homemade Wheat Thins!

Hiya, kids!

I have been a busy bee!

My continuous brew kombucha setup is finally producing, and I harvested my first batch on Thursday...delicious!  I should be able to get my second batch out of it later today...so exciting!


Surprisingly enough though, that isn't what we're going to talk about today.
 Today, I'm going to show you how to make your very own Wheat Thins style crackers, courtesy of Oh She Glows.  I tweaked her recipe just a tad, so I'm going to post my version here...and just in case you didn't notice, there is a new little fork and knife icon just below the blog banner...click there to see all the recipes posted here in easy to read format, courtesy of Recipage!  You can also search recipes based on different criteria using the toolbar on the right side of the page.

Feel free to drool over my super awesome antique Cracker Containment Unit, as well :)


Homemade Wheat Thins Recipe!

First off, preheat your oven to 400 degrees, and gather your dry ingredients:


  • 1 1/4 cups wheat flour
  • 1 1/2 T sugar
  • 1/2 t salt (keep extra salt nearby for sprinkling on top)
  • 1/4 t paprika
  • 1T flax seed

Combine and mix all your dry ingredients, and add 4T of ghee (room temp butter works as well)


Mix that all up until it is nice and crumbly looking


Now gather your wet ingredients:


  • 1/4 cup + 2 T water
  • 1/4 t vanilla
 Mix the water and vanilla together, and combine with your other ingredients. mix until it is all nice and doughy.


Now, divide your dough ball in half, (It is easier to work with half of it at a time) and transfer it onto a sheet of parchment paper.


Roll that out as thinly as possible, and use a pizza cutter to cut out your crackers grid style. Don't worry about re-working those edge pieces...personally, the irregular ones are my favorites! They get nice and crispy! :)


Just move your parchment paper and crackers onto a baking sheet, sprinkle the top with salt, and bake for 8-10 minutes, until the edges get nice and brown.  Enjoy!

Tuesday, April 10, 2012

Re-Grow Your Scallions!

I'm ALWAYS using scallions when I cook.  They might be one of my favorite ingredients in a good stir fry but I hate having to go to the store constantly to buy them.  So, I decided to get the most out of one bunch!

Leave the bottom part of your scallion intact when you cut it.  I left about 3 or 4 inches from the roots up.  Place them in a container, fill with water until it almost reaches the part of the scallion that turns green and put in a sunny window.  Now you wait!

Day 1:

Right after I saved the bottoms and put them in my water container.


Day 5:

I will be using these in my stir fry tonight!


Monday, April 2, 2012

I've got the sickies :(

I have a confession to make.  When I get sick, I turn into a big baby.  I am a lady, and yet I always manage to get man-colds.  You know, the ones where even though it is a normal cold, the fact that it is happening to you means that no one on the planet has ever suffered this much ever? Yeah.  those ones.

I am currently sick with one of those colds, which I will begin calling the Lez-Cold.  I went to work this morning, and lasted an hour.  Whined to myself the whole way home (all .9 miles of it...), and proceeded to camp out on the couch under the heated blanket with the Raisin-cat.


(exhibit A)

I can't stop coughing. My lungs feel like I decided to smoke a whole pack of menthols in one night. This is not the case. All we have around the house is that nasty daytime cold medicine that is so orange it even TASTES like orange (the color. not the fruit), and it isn't doing the trick.

After spending the morning perusing the internet between coughing fits and whining, I brewed up a pot of Ginger Lemon Honey tea. I am on my second quart of the stuff and feeling better!  I swear, easy cheap natural remedies made from stuff you find in your kitchen work TONS better than anything a pharmacy sells.

Next time you have a cold, be it "man-," "lez-," or regular type,  brew yourself up a batch of this and you'll feel a bit better.


Ginger Lemon Honey Tea

ok...this is super simple, so I don't have measurements...

Grab a medium saucepot.  Peel an inch-long piece of ginger, and slice it as thinly as you can into the pot. Add in a Tablespoon or two of lemon juice, and cover it all up with water.  Bring the whole thing to a boil, and drizzle in as much honey as you would like.  boil it for about 10 minutes, and pour it into your drinking container of choice, straining out any chunks.

Enjoy!

Bonus tip: if you happen to have mint tea laying around, add that to the mix while it is boiling.  yum!


This stuff is working wonders! Here are a few handy little facts for you:


Ginger: Ginger has been shown to be an effective remedy for nausea. It has also long been used as a natural treatment for colds and the flu. Many people also find ginger to be helpful in the case of stomach flus or food poisoning, which is not surprising given the positive effects ginger has upon the digestive tract.


Lemon: Lemons are highly valued for their vitamin C content. It is believed that consuming more vitamin C will reduce the risk of catching a cold and reduce its severity.


Honey: In addition to being just plain delicious, honey reduces cough by coating and soothing an irritated throat.


Not to mention all the water you're drinking with it!  And your house smells fantastic as a bonus! yay!

Hopefully you'll never have cause to use this, but if you do, Enjoy!